Do you want to start using colored pencils or improve your coloring skills? Then, this guide on how to color with colored pencils is for you!
Coloring with colored pencils is a relaxing and immersive hobby that you can enjoy. And with these simple colored pencil techniques, you can create beautiful artwork.
If you want to get more out of your colored pencils or learn how to blend smoothly, read on. This beginner’s guide will share everything you need to get started.
I’ll explain how to choose the best-colored pencils and supplies you need. Then, we’ll get onto some simple tips to get the most out of your colored pencils!
How to Color with Colored Pencils for Beginners: The Essential Supplies
You don’t need to be an artist or spend a lot of money to start coloring with colored pencils. But it’s not just a hobby for kids, either!
There are many types of colored pencils, and the right set can improve your experience. Here’s a short explanation of the various colored pencils available to you!
An Introduction to the Different Types of Colored Pencils
Although you may be most familiar with children’s colored pencils, there’s a lot more variety out there. You don’t have to stick to Crayola (unless you want that childhood nostalgia!)
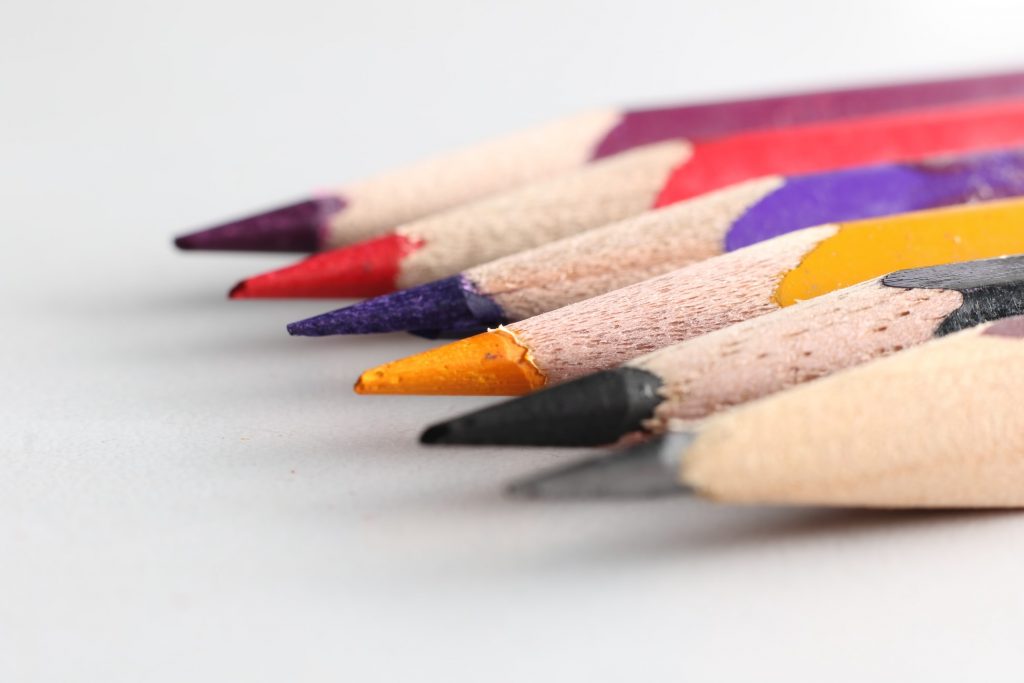
At its simplest, a colored pencil is made up of a colored pigment core surrounded by wood to make it stronger.
But colored pencils can vary in quality, price, and materials used. For example, the quantity of binder used in the pigment affects the hardness of the leader. The more binder, the softer the lead will be.
A hard lead can break more easily. Do you remember dropping a pencil when you were little and the lead breaking all the way down the length of it? Each time you sharpened it, the lead would just fall out. That’s just as frustrating now as it was back then!
As a result, pencils with softer leads are less likely to shatter and blend well. But the downside is that you can use them up very quickly.
The most expensive are artist-grade pencils. These high-quality pencils are more durable and have brighter pigments. That allows you to create vibrant colored drawings with fewer gaps in the grain.
Looking for the best colored pencils for artists or beginners? Then, check out my detailed reviews here! These suggestions can help you pick out the pencils you need to get started with coloring.
The main types of colored pencils are wax-based, oil-based, or watercolor pencils. Here’s a quick introduction to each type of pencil to help you decide what to buy!
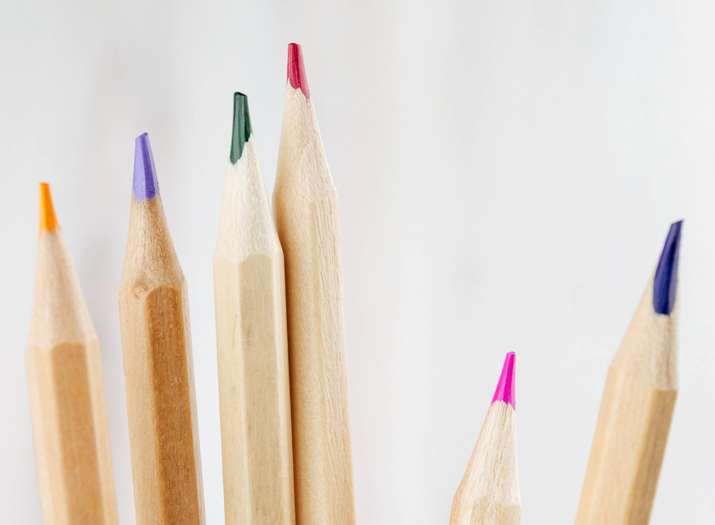
(Image credit: Mel Poole)
Wax-Based Colored Pencils
These pencils use a wax binder within the pigment to hold it together. Most children’s pencils fall into this category, but you can find wax-based artist pencils, too.
High-quality wax pencils are more expensive, with a softer pigment for smooth blending.
If you’re new to coloring, wax-based pencils are a good choice as they are very easy to blend. You can create gorgeous pictures by layering up colors.
The downside of wax coloring pencils is that the lead can break with minimal pressure. So, you need to take care and look after them to ensure they last a long time.
If you want to preserve your wax pencil artwork at its best, you may need to use a fixative. But before you do, make sure to test a smaller section first to ensure it won’t alter the colors.
Oil-Based Colored Pencils
If you’re looking for hardwearing pencils that are easy to use, consider oil-based pencils. While they still contain some wax, they use vegetable oil to bind the pigment together.
As a result, you get a much harder pigment that should last a long time. It won’t create that fine dust you can get when coloring with wax pencils. You can use the same set for many artworks due to the denser pigment core, so they offer great value for money.
Oil-based pencils are not so readily available in many shops. You can find them in specialist stores and online.
Many people find that oil-based pencils are tricky to blend. The colors don’t layer up as smoothly as wax pencils, so you could struggle to create a gradual effect.
Keep that in mind if you want to create landscapes or similar projects that involve a lot of blending! It’s not easy to get that seamless look with oil-based coloring pencils.
(Image credit: Harpreet Singh)
Watercolor Pencils
Hobbyists and artists choose watercolor pencils for their ease of use and practicality. Not to mention the stunning effects they produce.
You can use watercolor pencils as a portable alternative to watercolor paints. It’s very easy to create beautiful artwork using watercolor pencils. And as you’d expect, they blend smoothly with incredible results.
These pencils use gum arabic as a binder, rather than wax or oil. Just add water, and you’ll get a similar effect to watercolor paint. Here are my top recommendations for watercolor pencils.
What type of paper should I use for colored pencils?
When choosing paper for colored pencils, there are a few factors to consider. You should think about the texture and materials used, as well as your budget.
Paper can vary from very smooth to grainy. For coloring with colored pencils, I recommend going for paper with some texture and grip. But don’t go too rough, or it will interfere with your lines and shapes. Somewhere in the middle range is best!
If possible, go for quality cotton paper with some weight. It doesn’t need to be as thick as for painting with watercolors, as you won’t need it to absorb the liquid. You can use either loose paper or a sketchbook to keep your drawings organized.
Pencil sharpener
Keeping your pencils sharp will allow you to create those fine details! So, a good pencil sharpener is an essential tool for drawing with colored pencils.
You can choose between a small manual sharpener or an electric sharpener.
A handheld sharpener is compact and easy to take anywhere. It also allows you to control the sharpening speed and force to get your desired result. You can avoid over-sharpening your pencil and get them just how you want them.
Look for a high-quality metal sharpener that will last a long time. But don’t worry about spending too much, as it’s easy to misplace.
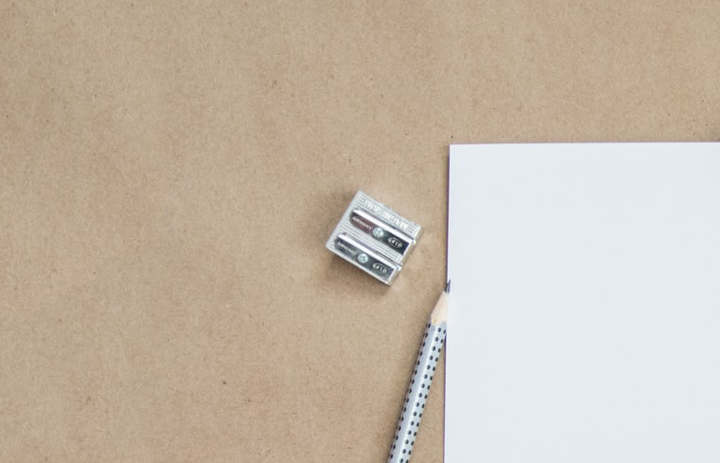
(Image credit: Kelly Sikkema)
An electric sharpener can save you time if you’re sharpening your pencils in bulk. But it is bulkier, and you can’t carry it with you for drawing on the go.
When using an electric sharpener, you need to be careful not to over-sharpen your pencils. You’ll have to clean it regularly to prevent wax from building up, too.
You may want an electric sharpener for regular use and a smaller one when you’re away from home. It’s up to you!
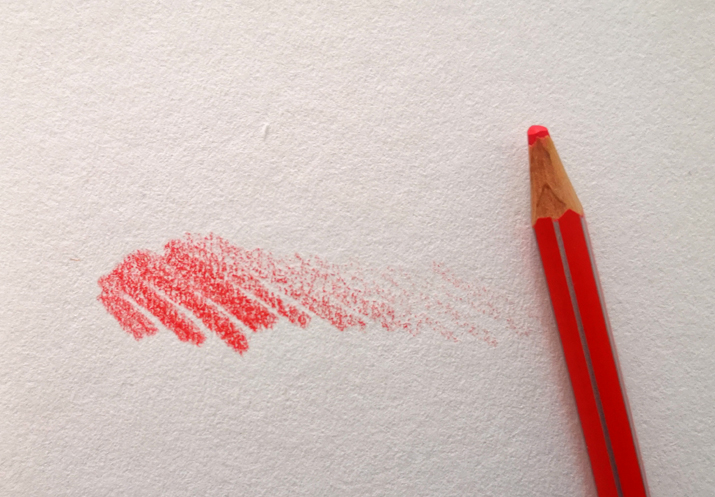
How to Use Colored Pencils Like a Pro: The Basic Colored Pencil Techniques
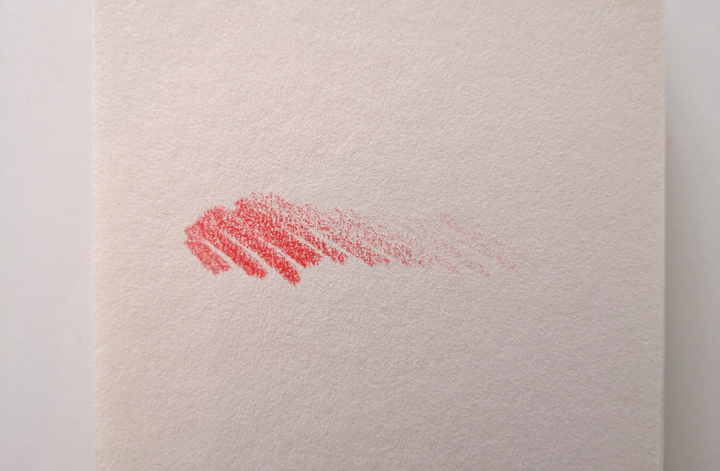
Back and forth stroke
If you want to learn how to color, the first step is to master the back and forth stroke. Most people will start with this technique when coloring with pencils. Even young children will use the back and forth stroke with no guidance.
But there’s a lot you can do with this basic technique to create amazing artwork! So, you should master it before you advance to more difficult techniques.
(Image credit: Proactive Creative)
All you need to do is drawback and forth (as the name suggests) without lifting your pencil. Try to color between the lines with a smooth and consistent pressure.
Once you’ve got used to drawing evenly, you can vary the pressure if you want to add more color. But don’t press too hard, or you’ll only get broken leads. The next technique comes in handy when shading lighter and darker sections!
Creating Layers
Pushing too hard on your pencils isn’t the key to successful coloring. If you want to master shading, there are other ways. You can get vibrant colors by building up layers gradually, instead!
Start by creating your first layer and then build it up for a more saturated look. You’ll fill in the gaps and cover over any white grain. It involves a little patience but will create a beautiful, bright effect.
(Image credit: Proactive Creative)
How many layers you’ll need will depend on what you want the finished drawing to look like. You can even experiment by mixing colors to get the right shade or brightness.
Stippling
If you want to add texture, why not give stippling a go? It’s a super simple technique that involves making lots of tiny dots on the paper.
You can play with the result by making your dots close together or wider apart. You might also notice that you get a different effect when stippling with a sharp or blunt pencil.
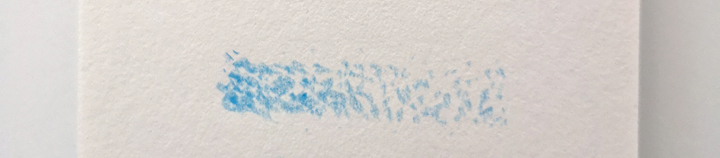
(Image credit: Proactive Creative)
Stippling comes in handy when you want to fill an area with color, but you don’t want a solid, uniform look. It can be a little time-consuming but makes for a unique drawing.
You can create an entire artwork using stippling. Or, you could use it for a specific area and combine it with other effects.
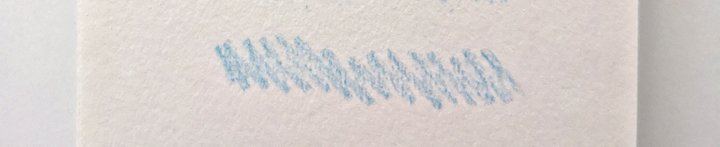
Hatching
Next up is another simple yet useful technique! Hatching means that you draw lots of lines in parallel with each other.
It’s an alternative to shading that can help add definition and mix up the style. You can vary the thick and far apart lines for different effects.
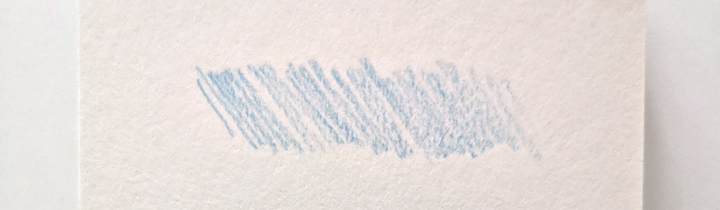
(Image credit: Proactive Creative)
Another way to use hatching is to show where the light is coming from. It creates a very striking look and makes your drawings look dynamic.
The faster you do the hatching, the more confident and defined your lines will be. Don’t forget to sharpen your pencil first so that you get a consistent line width.
Cross-hatching
If you’ve mastered hatching, the logical next step is to try your hand at cross-hatching. You start with your regular hatching in one direction. Then, you’ll add another layer of lines in the opposite direction to create the cross-hatch.
You’ll want to ensure that you draw the lines smoothly and with a firm hand. If you do, you’ll get a strong and uniform design.
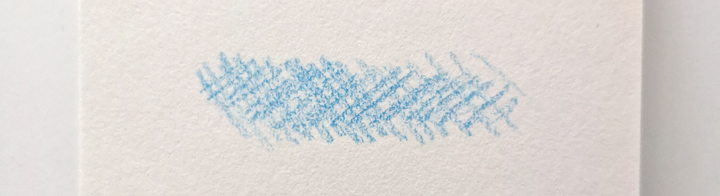
(Image credit: Proactive Creative)
Typically, the cross-hatching should be perpendicular to create a regular effect. Once you’ve mastered the cross-hatching technique, you can try different angles. If you’re feeling curious, you can even mix up the colors you use for some exciting and vivid results.
Scumbling
Scumbling is another fantastic trick to learn if you want to master how to color with pencil. This technique involves drawing in a light, circular movement on the paper.
You should keep your pencil on the paper the whole time and move it around, building up color and a unique texture.

(Image credit: Proactive Creative)
This easy technique allows you to fill larger areas of space quickly. And depending on how densely you draw the circle, you can create an interesting effect.
Looking for more inspiration on how to color with colored pencils? There are thousands of YouTube tutorials with helpful tips and specific tutorials!
How to Blend Colored Pencils
To blend colors, you first need to understand the basics of color theory. This knowledge will ensure that you get the results you want and don’t end up with weird colors!
If you want to find out more about color theory, here are some of the best books around!
(Image credit: Proactive Creative)
The first step is to make a color mixing chart. Although this takes time, it will allow you to see which shades you can create with the pencils you have. That will save time when you’re drawing and make sure that your artwork looks realistic.
An effective way to blend colors is by using sharp pencils to layer up different shades. You’ll gradually fill in all the space and work the colors together to create a new shade. This method is called burnishing.

(Image credit: Proactive Creative)
Your other option is to use a solvent blender once you’ve applied your colors. The most common solvent blenders include turpentine, rubbing alcohol, and mineral oil.
When you apply a solvent blender, it will smooth out your pencil strokes to create a uniform effect. Once it’s dry, you can add another color over the top.
Before you use any type of solvent blender, you need to do a patch test first. That will allow you to see whether it will alter your colors or affect the paper in any way.
You can also find colorless blenders, but these are not as effective. They are basically just wax-based pencils without any pigment.
It’s up to you to find your preferred method of blending. With a bit of practice and experimentation, you’ll soon be blending like a pro!
Tip: save the image below to your Pinterest to re-read this article later!

The Wrap Up
Anyone can enjoy drawing with colored pencils as a relaxing and creative hobby. This simple guide on how to color with colored pencils has shown you how easy it is to get started!
So grab some colored pencils and have a go for yourself! You can draw freehand or pick up a coloring book and have fun creating bright, beautiful drawings!
Whether you do it to pass the time, relax, or for mindfulness, coloring is great fun. And while it’s not about the end result, you’ll be amazed at what you can create with these simple techniques.
Let me know if you have any questions in the comments below. And don’t forget to follow me on Pinterest for more tips, tutorials, and inspiration!