As a beginner in art, watercolor painting has always intrigued me. The soft and translucent effects created by the interaction of paint and water are truly captivating. That’s why I decided to explore the world of watercolor painting and learn the basics.
In this beginner’s guide, I’ll take you through essential materials, techniques, and tips for watercolor painting. Whether you’re a novice or have some experience, this guide will help you build a solid foundation and ignite your creativity in watercolor.
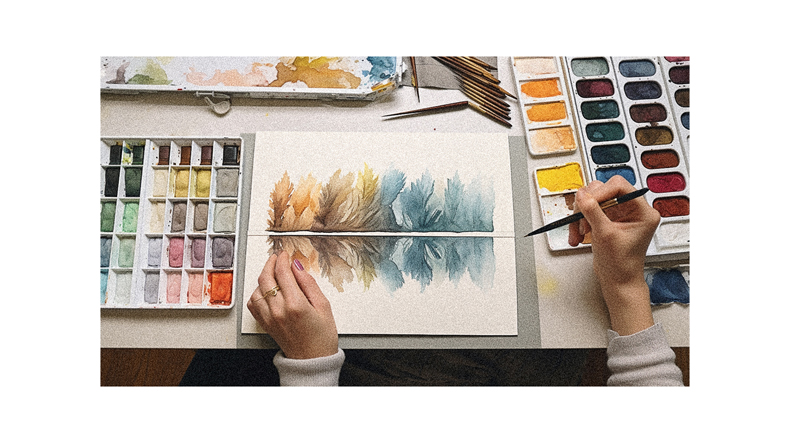
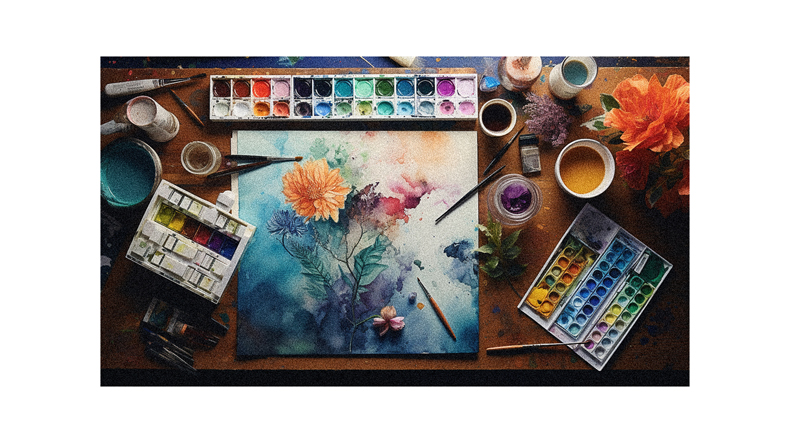
Basic Watercolor Techniques
I will cover some essential watercolor techniques that beginners should know.
One important technique is called wet-on-wet. This involves applying water to the paper first and then adding watercolor. It creates a soft and blended effect.
Another technique is wet-on-dry, which uses a wet brush on dry paper. This technique allows for more control and precise details.
Glazing is another technique where you paint layers of watercolor, allowing the previous layers to show through. It adds depth and richness to your paintings.
Lastly, paint lifting can be done with a dry brush to create marks or lettering. These techniques provide different effects, allowing experimentation and creativity in your watercolor paintings.
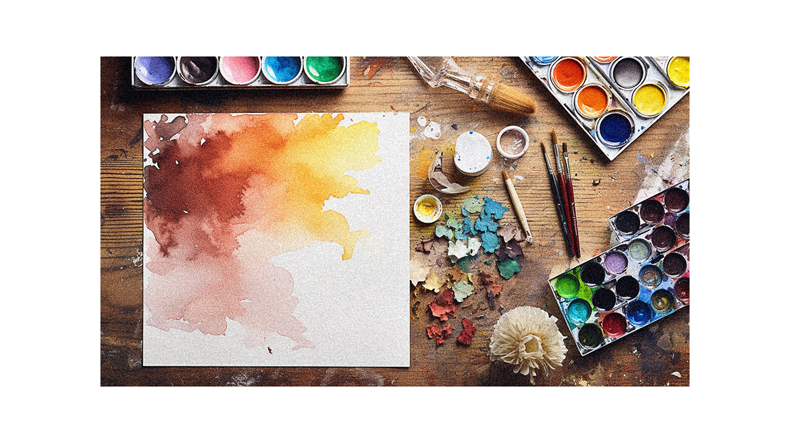
Essential Watercolor Supplies
Investing in high-quality watercolor paper is essential for achieving good results in watercolor painting. The paper acts as a foundation for the paint, allowing it to spread and blend properly.
I recommend using Strathmore 400 Series Cold Press paper, as it’s a popular and affordable option. The cold press texture provides an excellent surface for watercolor techniques. It also prevents bleeding and allows the paint to sit on top until it dries.
Standard printer paper isn’t suitable for watercolor painting due to its high absorbency. When choosing watercolor paper, it’s important to consider the weight, as heavier papers tend to hold up better against the water and prevent warping.
Investing in high-quality watercolor paper will significantly improve the quality of your paintings.
Choosing the Right Watercolor Paper
When choosing the right watercolor paper, it’s important to consider factors such as weight, texture, and absorbency.
- Weight: Watercolor paper comes in different weights, such as 90lb, 140lb, and 300lb. The weight determines the thickness and durability of the paper. Heavier weights are better for wet-on-wet techniques and can withstand multiple layers of paint.
- Texture: Watercolor paper has different textures, including rough, cold-pressed, and hot-pressed. Rough paper has a more textured surface, allowing for interesting paint effects. Cold-pressed paper has a slightly textured surface, while hot-pressed paper has a smooth surface.
- Absorbency: The absorbency of the paper affects how the paint interacts with the surface. More absorbent paper will allow the paint to spread and blend more easily, while less absorbent paper will keep the paint more vibrant and controlled.
These factors will help you choose the right watercolor paper for your painting style and desired effects.
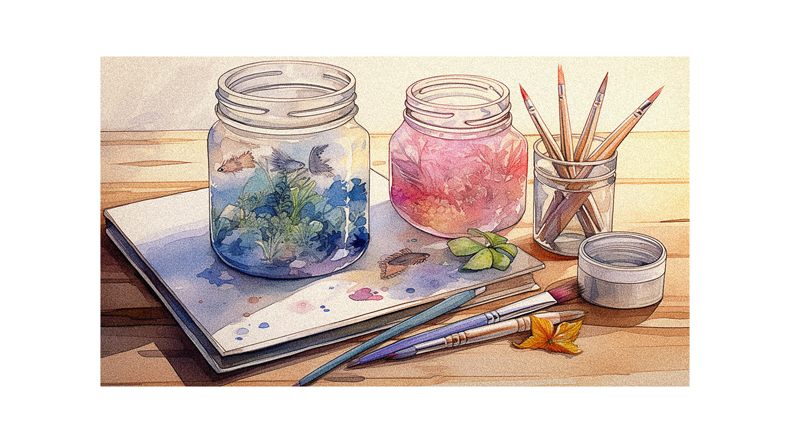
Understanding Watercolor Brushes
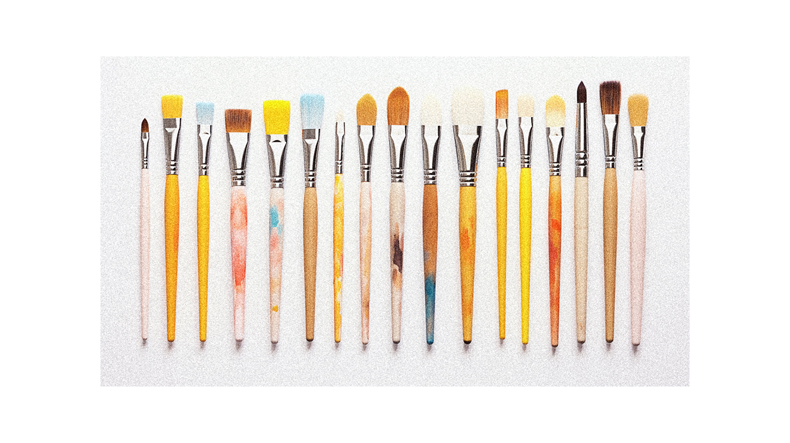
To understand watercolor brushes, it’s important to know the different types and their uses.
There are two main types of watercolor brushes: natural hair brushes and synthetic hair brushes.
Natural hair brushes, such as those made from sable or squirrel hair, are more expensive but perform better. They can hold more water and create smoother brushstrokes.
On the other hand, synthetic hair brushes are cheaper and still effective, making them a good choice for beginners. They’re made from synthetic materials like nylon or taklon and can mimic the performance of natural hair brushes. Synthetic brushes are also easier to clean and maintain.
When choosing a watercolor brush, consider the type of hair, the brush shape (such as round or flat), and the size that suits your needs.
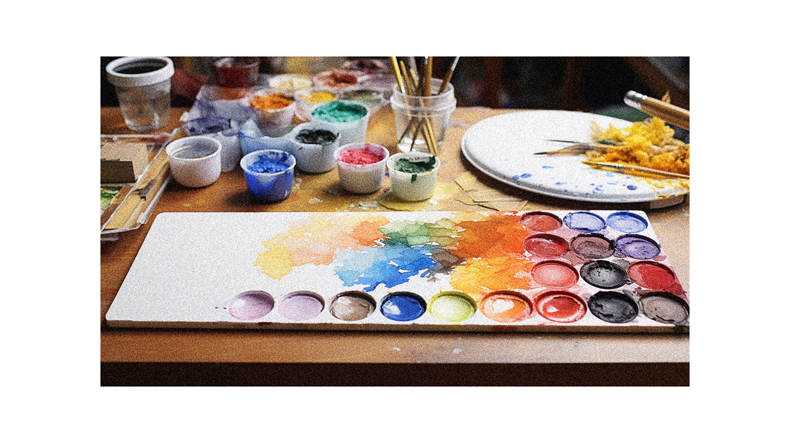
Color Theory for Watercolor Painting
My favorite tool for understanding color theory in watercolor painting is the color wheel. It helps me to explore different color combinations and create harmonious palettes.
Here are some key concepts of color theory for watercolor painting:
- Primary Colors: These are the three colors that can’t be created by mixing other colors – red, yellow, and blue.
- Secondary Colors: These are the colors obtained by mixing two primary colors together – orange, green, and purple.
- Complementary Colors: These colors are opposite on the color wheel and create contrast when used together.
- Warm and Cool Colors: Warm colors, such as red and yellow, create a sense of energy and vibrancy. Cool colors, like blue and green, evoke a feeling of calmness and tranquility.
- Color Temperature: Understanding the temperature of colors helps to create depth and dimension in a painting.
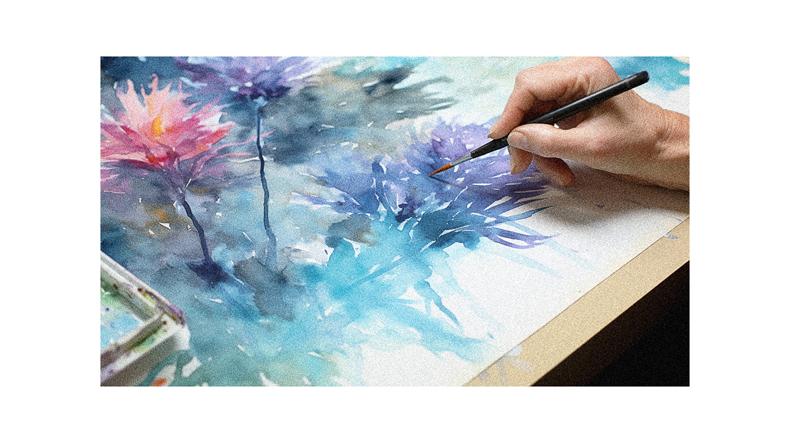
Wet-on-Wet Watercolor Technique
The wet-on-wet watercolor technique allows for beautiful blending and spontaneous effects in my paintings. It involves applying water to the paper first and then adding watercolor on top. By wetting the paper beforehand, the paint spreads and flows more easily, creating soft and seamless transitions between colors.
This technique is especially useful for creating backgrounds or atmospheric effects. I love how it allows me to create vibrant and luminous washes that add depth and dimension to my artwork. It’s important to note that using too much water can cause the colors to become muddy, so it’s important to find the right balance.
With practice and experimentation, I’ve been able to achieve stunning results using the wet-on-wet technique.
Wet-on-Dry Watercolor Technique
I can achieve more controlled and precise brushstrokes in my paintings using the wet-on-dry watercolor technique. This technique involves applying wet paint onto dry paper, allowing for sharper lines and more defined details.
Here are five key benefits of using the wet-on-dry technique:
- Increased control: By working on dry paper, I’ve more control over where the paint is applied and how it spreads.
- Crisp edges: This technique allows for sharp and clean edges, perfect for creating intricate shapes and fine details.
- Layering: With wet-on-dry, I can easily layer colors without worrying about them bleeding into each other.
- Texture: The dry paper absorbs the water from the paint, creating interesting textures and variations in the painting.
- Corrections: If I make a mistake, it’s easier to lift or adjust the paint on dry paper compared to wet paper.
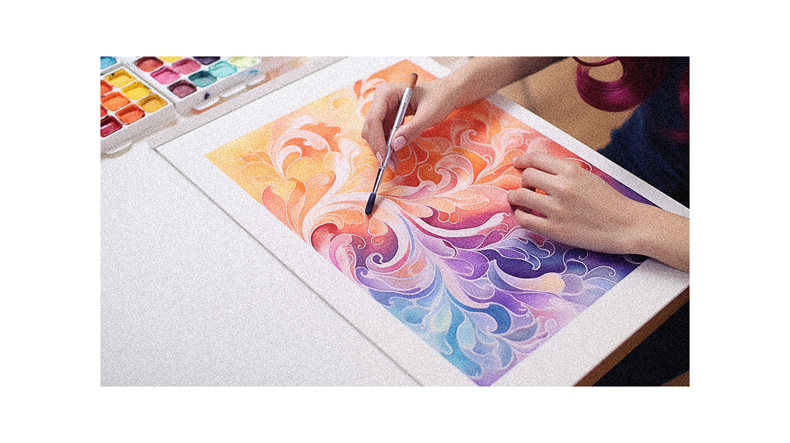
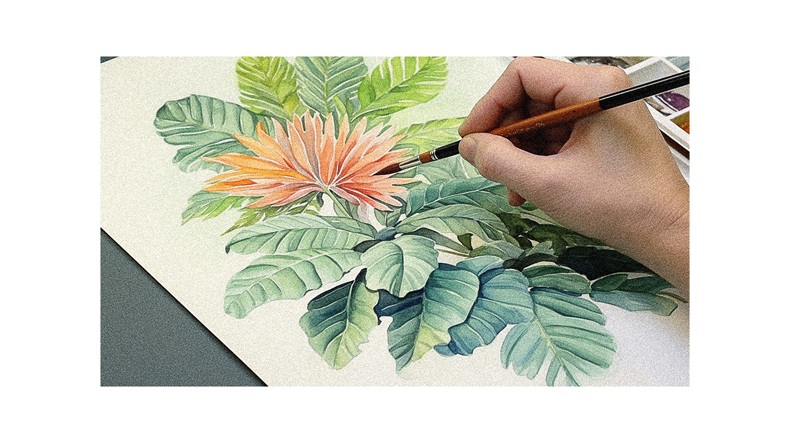
Creating Compound Strokes in Watercolor
When painting with watercolors, I often combine multiple brushstrokes to create compound strokes, adding depth and texture to my artwork.
Compound strokes involve using different brush techniques to create interesting effects and variations in my paintings.
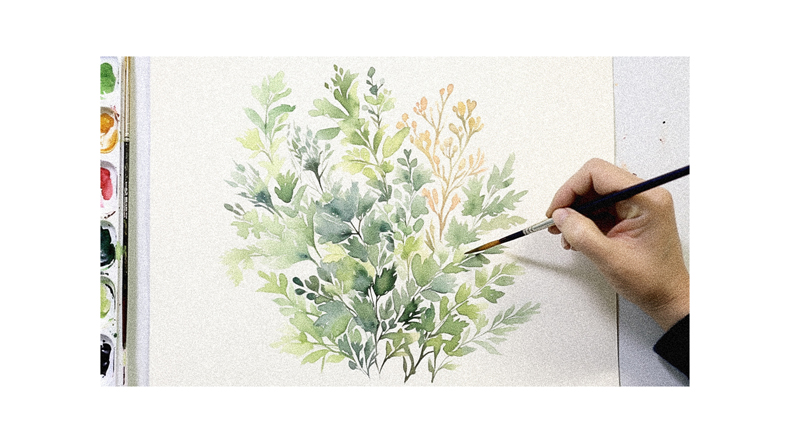
For example, I may use a combination of short, quick brushstrokes to create the texture of foliage or the petals of a flower. By layering and overlapping these strokes, I can create a sense of depth and dimension in my watercolor paintings.
It’s important to experiment with different brush sizes, pressures, and angles to achieve the desired effect. Compound strokes allow me to bring my artwork to life and add a unique touch to my watercolor paintings.
Using Watercolor for Floral Wreath Compositions
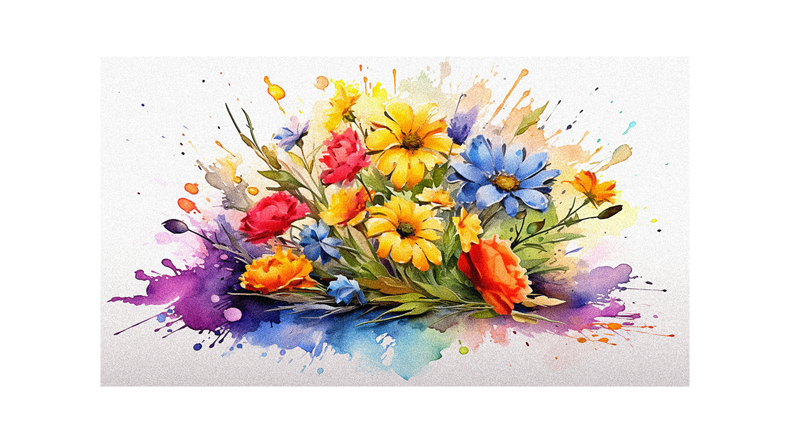
I love creating beautiful floral wreath compositions using watercolor. It allows me to combine my love for painting with my love for flowers. Here are some tips for using watercolor to create stunning floral wreaths:
- Start by sketching the basic outline of the wreath using a light pencil. This will serve as a guide for your composition.
- Choose a color palette that reflects the flowers you want to paint. Experiment with different combinations to achieve a harmonious look.
- Begin painting the flowers from the center of the wreath, working your way outwards. Use different brush strokes and techniques to create variety and texture.
- Add leaves and foliage to fill in the gaps between the flowers. Play with different shades of green to add depth and dimension.
- Finally, add any additional details or embellishments, such as tiny buds or delicate vines, to complete your floral wreath composition.
Using watercolor for floral wreath compositions allows for endless creativity and possibilities. Have fun experimenting and creating your unique designs!
Watercolor on Different Surfaces
Watercolor can be applied on various surfaces, such as gesso or texture paste, for unique and interesting effects. While watercolor is best used on watercolor paper, it can also be used on gesso for certain effects or adding soft color.
To paint with watercolor on gesso, I recommend using Liquitex clear gesso. This allows the watercolor to adhere to the gesso surface and create beautiful effects.
Additionally, watercolor can be used on texture paste to add texture and depth to your paintings. Experimenting with different surfaces can open up new possibilities and help you create one-of-a-kind artworks with watercolor.
Tips for Controlling Water and Paint
To achieve better control over the water and paint in watercolor painting, it’s important to be mindful of the amount of water used and the consistency of the paint. Here are some tips to help you control water and paint in your watercolor paintings:
- Gradually add water to the paint to control its transparency and intensity.
- Use a damp brush to lift excess paint or create highlights.
- Experiment with different brush techniques to create various effects.
- Allow each layer of paint to dry before adding more to maintain control over your painting.
- Practice controlling the amount of water on your brush to achieve the desired effects.
Layering and Building Translucent Effects
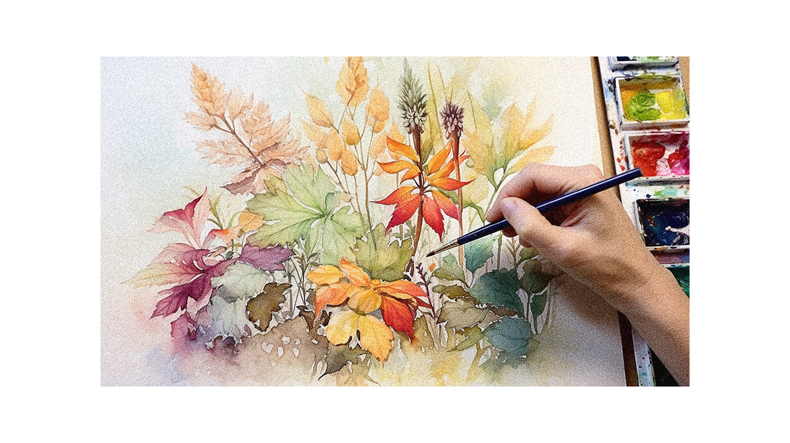
When layering watercolors, it’s important to let each layer dry before adding the next one. This allows the colors to blend and create a translucent effect. If you add wet paint on top of a wet layer, it can become muddy and lose its vibrancy. By waiting for the previous layer to dry, you can achieve more control over the painting and prevent unwanted mixing of colors.
Layering watercolors also allows you to build up depth and create interesting textures. You can add multiple layers to create shadows, highlights, and details. It’s important to be patient and let the layers dry completely before moving on to the next step in order to achieve the desired effect.
Highlights and Negative Space in Watercolor
I love using highlights to make certain areas of my watercolor paintings stand out, while negative space adds a sense of balance and depth. Here are some things to consider when using highlights and negative space in watercolor:
- Creating highlights: Using a lighter shade of paint or leaving the paper unpainted can create highlights that catch the eye and add dimension to your artwork.
- Emphasizing negative space: Negative space refers to the empty areas in your painting. By intentionally leaving some areas blank or painting them with a lighter wash, you can create a sense of contrast and give your painting a more dynamic composition.
- Balance and harmony: Utilizing negative space can help create balance and harmony in your painting by allowing the eye to rest and preventing overcrowding.
- Depth and perspective: By using highlights and negative space strategically, you can create the illusion of depth and perspective in your watercolor paintings.
- Experimentation and creativity: Don’t be afraid to use different techniques and approaches to using highlights and negative space. You’ll discover what works best for your artistic style through experimentation.
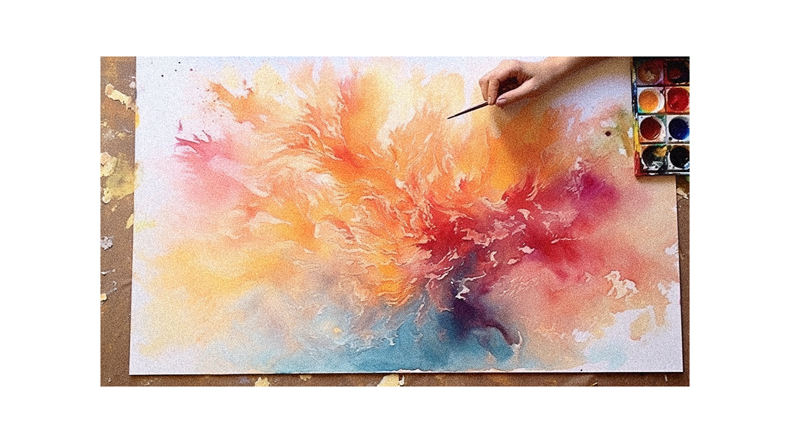
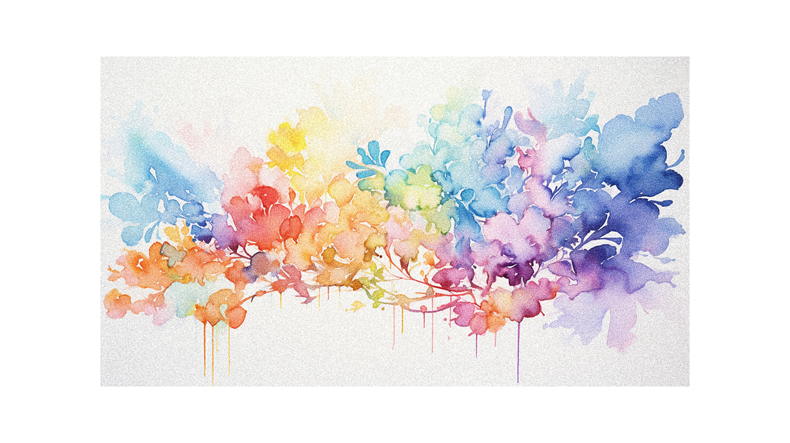
Exploring Different Watercolor Effects
I love experimenting with different watercolor effects by playing with the amount of water and the way I apply the paint.
By adjusting the water-to-paint ratio, I can create various effects such as washes, glazes, and dry brush techniques.
A wash involves applying a diluted layer of paint to create a soft, transparent background.
Glazing allows me to layer multiple colors to create depth and richness.
With the dry brush technique, I use a brush with minimal water to create textured and detailed strokes.
I also enjoy exploring techniques like salt, alcohol, and splattering to add interesting textures and patterns to my paintings.
Each experiment with watercolor effects brings a unique and captivating element to my artwork.
Resources and Further Learning in Watercolor Painting
To deepen my knowledge and skills in watercolor painting, I can explore various resources and further learning opportunities available. Here are some options to consider:
- Join online communities or art groups dedicated to watercolor painting. These platforms provide a space for learning, sharing artwork, and receiving feedback from fellow artists.
- Attend workshops or classes either in person or online. These structured learning environments can provide guidance, demonstrations, and hands-on practice to improve technique and understanding.
- Follow reputable watercolor artists on social media platforms like Instagram or YouTube. They often share tips, tutorials, and behind-the-scenes glimpses into their creative process.
- Read books and articles written by experienced watercolor artists. These resources can provide in-depth knowledge on color theory, composition, and painting techniques.
- Visit art museums or galleries to study and gain inspiration from watercolor paintings by renowned artists.
Follow us on Pinterest for more tips, tutorials, and artist reviews!