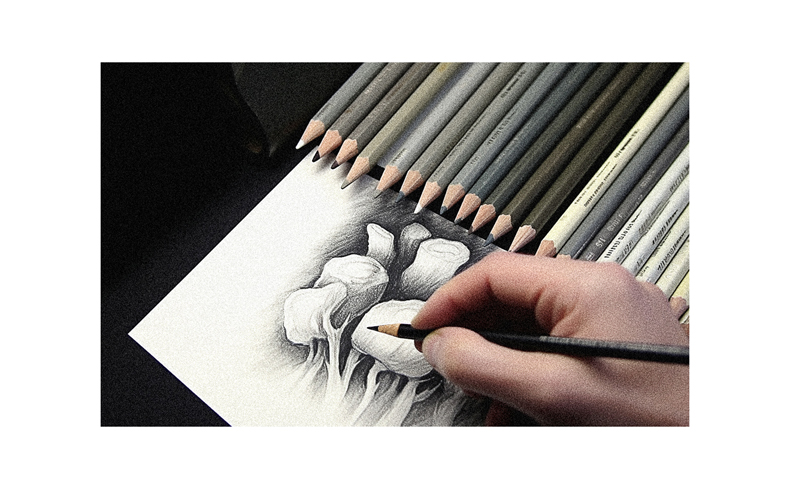
As an artist, I know the importance of selecting suitable sketching materials. The pencils, erasers, and sketchbook paper I choose can make all the difference in bringing my drawings to life.
In this article, I’ll guide you through finding the perfect materials for your sketches. From graphite pencils to acid-free papers, we’ll explore all the options to enhance your creativity and create stunning artwork.
Let’s dive in and discover the world of sketching materials together.
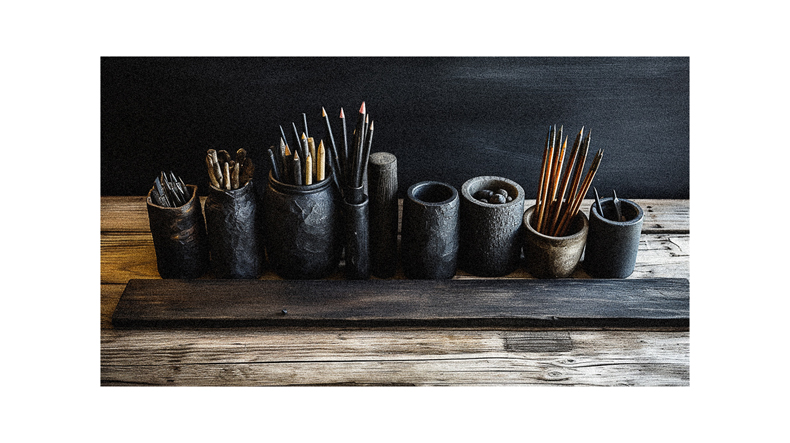
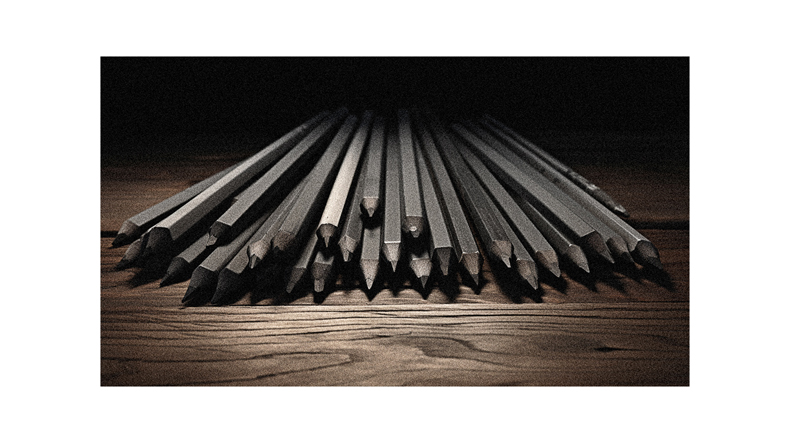
Drawing Pencils and Sets
I find that each artist will have a brand they connect with regarding drawing pencils and sets. For me, Derwent graphite pencils are highly recommended.
Pencil sets offer a full spectrum of graphite grades, allowing artists to work with different values and mark varieties. I appreciate that Derwent pencil sets come in nice tins and include a range of graphite grades. However, I understand that some artists prefer to purchase individual pencils.
Graphite pencils aren’t expensive, making it affordable to experiment with different brands and find the ones that suit your style and preferences.
Whether you choose a set or individual pencils, finding the right brand that resonates with you is essential for achieving your artistic vision.
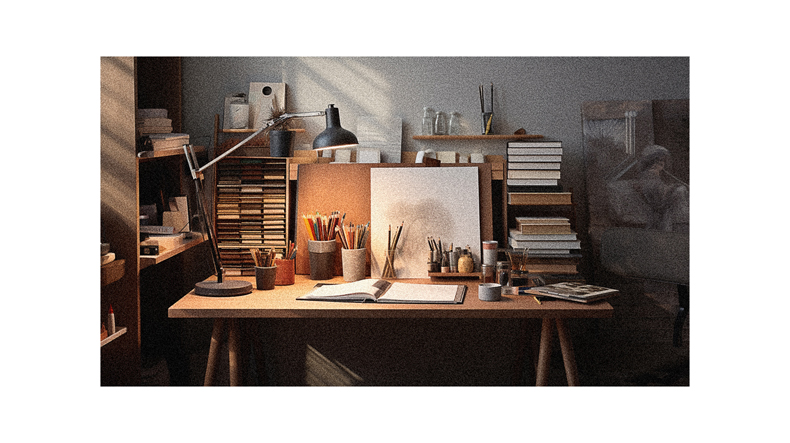
Sketchbook and Drawing Surfaces
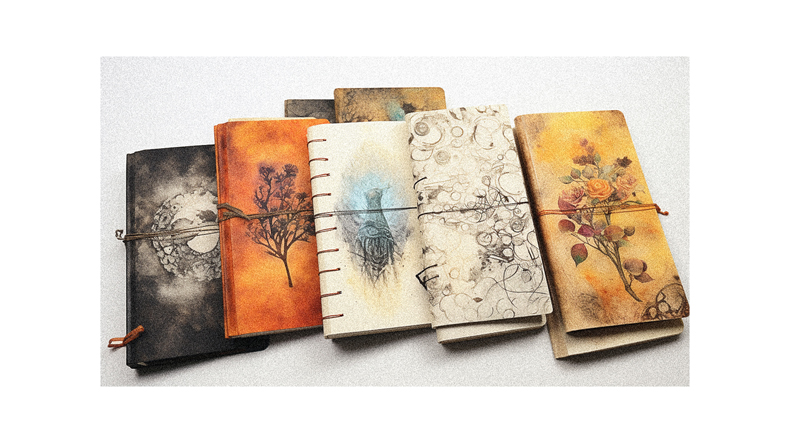
I prefer to use a sketchbook with durable pages and a hardcover, as it allows me to freely explore my ideas and keep my drawings protected. The sketchbook serves as a safe space for me to experiment and document my creative journey.
Here are some key features I look for in a sketchbook:
- Durable pages that can withstand different drawing materials and techniques
- A hardcover to protect my drawings from bending or getting damaged
- Sufficient number of pages to accommodate my sketches and ideas
- A portable size that allows me to carry it with me wherever I go
Having a reliable sketchbook with the right drawing surfaces enables me to fully express my artistic vision and capture my imagination on paper.
Erasers
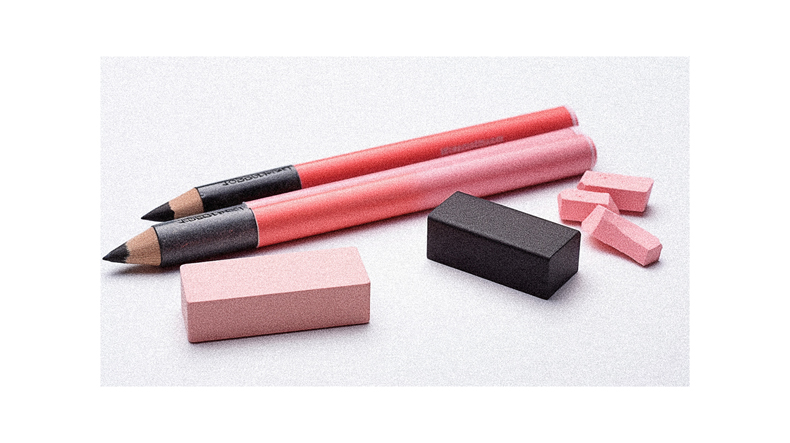
I prefer using rubber erasers to erase graphite marks, as they’re standard and effective in removing the material from the surface. Rubber erasers work by creating friction against the paper, causing the graphite to lift off. They’re versatile and can be used on various types of drawing surfaces.
I find that rubber erasers provide a clean and precise erasing result, without leaving behind any residue or smudging the surrounding areas. They’re also easily accessible and affordable, making them a practical choice for any artist.
In addition to rubber erasers, there are other options such as kneaded erasers, gum erasers, and vinyl or plastic erasers, each with their own unique properties and uses. However, for my sketching needs, rubber erasers are my go-to choice.
Rubber erasers are great for erasing graphite, while kneaded erasers lift material from the surface. When it comes to choosing the right eraser for your sketching needs, there are a few options to consider:
- Rubber erasers are the most common erasers and are perfect for removing graphite marks. They work by creating friction on the paper, effectively erasing the marks.
- Kneaded erasers: These versatile erasers are soft and pliable, allowing you to shape them into any form. They’re excellent for lifting material off the surface, making them ideal for creating highlights or removing small details.
- Gum erasers: These are gentle on paper and great for sensitive surfaces. They remove media without tearing or damaging the paper.
- Vinyl or plastic erasers: These erasers are tough and can erase almost anything. They’re especially useful for erasing stubborn marks or correcting mistakes.
Pencil Sharpener
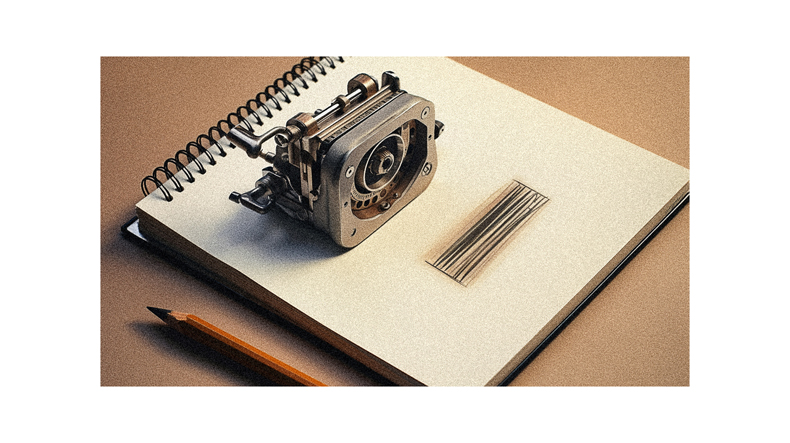
An electric pencil sharpener is convenient, but I prefer using a manual pencil sharpener for more control over the sharpening process. Here are a few reasons why:
- Manual sharpeners allow me to adjust the angle and pressure to achieve the perfect point.
- They’re portable, so I can take them with me wherever I go.
- Manual sharpeners tend to have a more reliable blade quality, ensuring a sharp and consistent point.
- They don’t require electricity, making them a more sustainable option.
Using a manual pencil sharpener gives me the flexibility and precision I need to create the best sketches possible.
Graphite Sticks
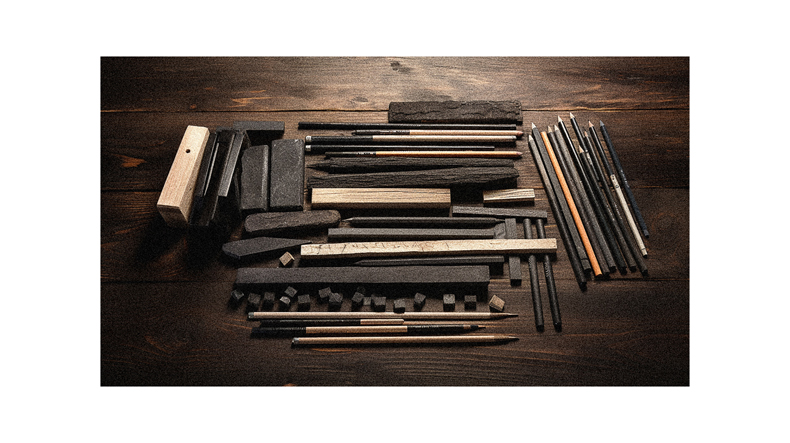
I often use graphite sticks in my sketches because they allow me to create bold and expressive marks on the paper. Here are some reasons why graphite sticks are a great addition to any artist’s toolkit:
- Graphite sticks provide a different drawing experience than pencils.
- They can be used on their sides for broad strokes, adding texture and depth to the artwork.
- Graphite sticks can also be sharpened to a desired point, allowing for detailed work and precise lines.
- They’re available in different degrees of hardness, offering a range of values and effects in drawings.
Fixative Spray
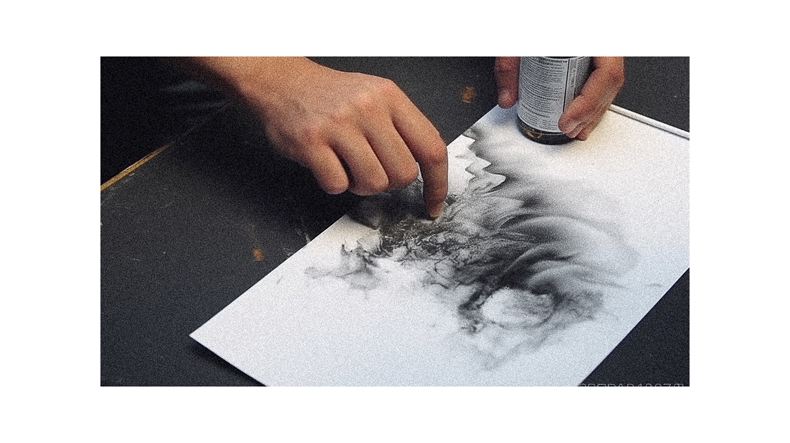
I always use fixative spray to protect my finished drawings and prevent smudging and fading. It’s an essential tool that ensures the longevity of my artwork.
Fixative spray creates a protective barrier over the drawing, locking the graphite or charcoal in place. This prevents any accidental smudging or smearing that can occur during handling or transportation.

Additionally, the fixative spray helps to prevent fading over time, keeping the colors and tones of my drawing vibrant and intact. I make sure to use a fixative spray specifically designed for the medium I’m working with, whether it’s graphite, charcoal, or pastel.
It’s important to apply the fixative spray in a well-ventilated area and follow the instructions on the can for best results.
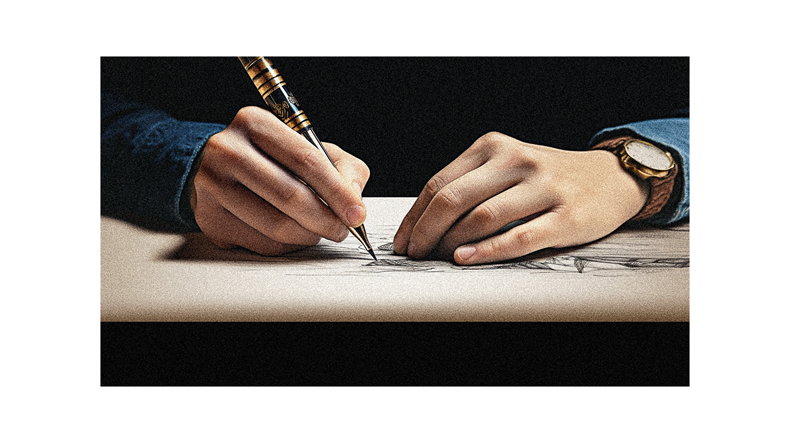
Drawing Pens and Ink
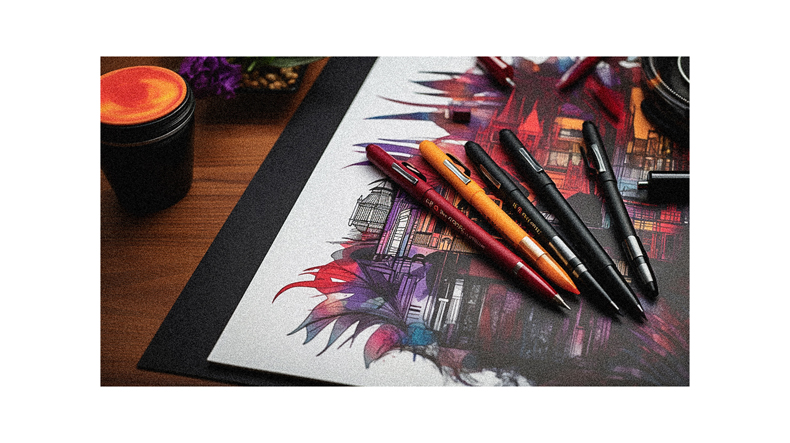
For my drawings, I always have various drawing pens and inks on hand to achieve different effects and master the art of line work. Here are some key points to consider when it comes to drawing pens and ink:
- Technical drawing pens are affordable and portable, making them great for on-the-go sketching.
- Dip or nib pens offer a unique character in drawings and require bottled ink.
- Felt tip pens allow for a variety of marks and can help improve drawing skills.
- Sakura Micron pens and Steadtler technical ink liners are recommended for their quality and reliability.
These different types of drawing pens and inks provide versatility in creating precise and expressive lines, allowing me to experiment and enhance my drawings.
Colored Pencils
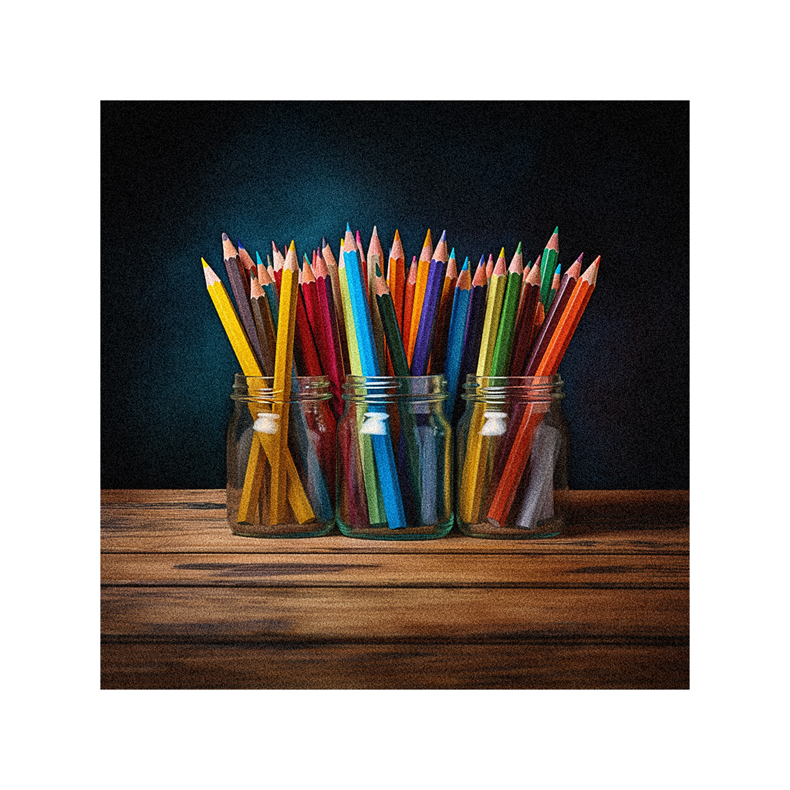
When it comes to creating vibrant and colorful artwork, colored pencils offer a versatile and enjoyable medium to work with. Not all colored pencil brands produce the best results, so it’s important to consider your preferences.
Prismacolor Premier pencils are soft and buttery, making them suitable for layering colors and achieving smooth gradients.
Faber-Castell Polychromos pencils, on the other hand, require multiple layers for depth and richness.
If you’re looking for bright colors that break less often, Caran Dache Luminance pencils are a great option.
Each brand has its unique characteristics, so it’s worth experimenting with different types of colored pencils to find the ones that suit your artistic style and desired effects.
Artwork Storage and Portfolio
Artwork should be preserved and protected, so it’s important to consider the right options for storage, such as portfolios. When it comes to storing your artwork, there are a few key things to keep in mind:
- Look for portfolios with rigidness and size options. This will ensure that your artwork is well-protected and can accommodate different sizes of artwork.
- Consider building your own portfolio if desired. This allows you to customize the size and design to fit your specific needs.
- Treat your artwork with respect and care. Handle it gently and avoid exposing it to harsh conditions, such as extreme temperatures or direct sunlight.
- Keep your artwork organized. Use dividers or sleeves within your portfolio to keep your pieces separate and prevent smudging or damage.
Charcoal and Graphite Sticks/Pencils
I personally prefer using charcoal and graphite sticks/pencils as they offer a different drawing experience and allow for a range of expressive marks.
Charcoal sticks are versatile for creating dark, rich tones, while graphite sticks cover large areas and make bold, expressive marks.
Both charcoal and graphite sticks come in different grades, allowing artists to achieve different effects and textures in their drawings.
For those who prefer more control and precision, charcoal pencils are a great option. They offer the ability to create lighter, more precise lines compared to charcoal sticks.
Ultimately, it’s important to experiment with different brands and types of charcoal and graphite sticks/pencils to find the ones that suit your personal drawing style and preferences.
Blending Tools
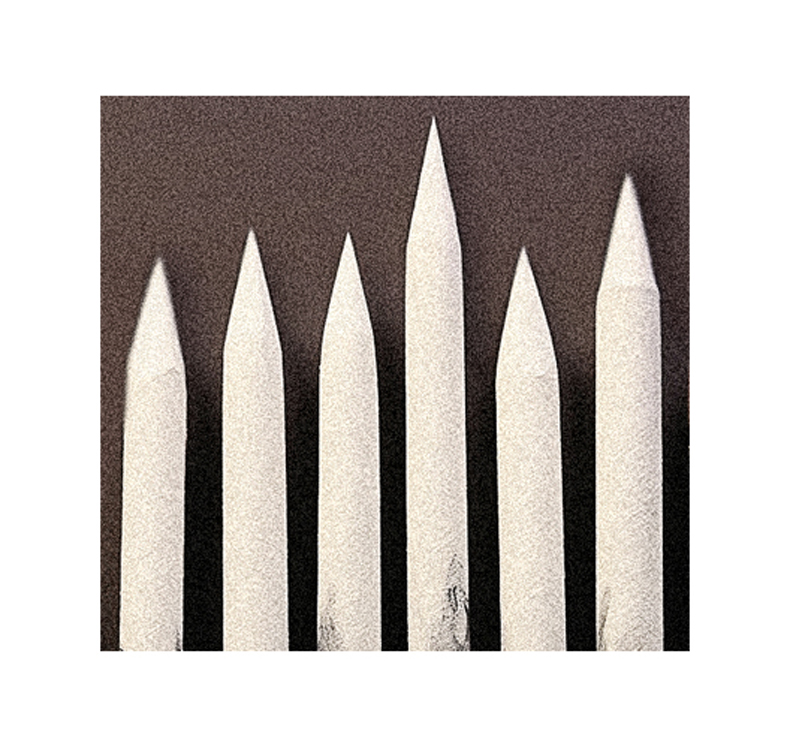
For my drawings, I like to use blending tools such as tortillions and blending stumps to create smooth transitions and gradients. These tools are essential for achieving the desired effects in my artwork. Here are some reasons why I find them indispensable:
- Tortillions: These tightly rolled paper or felt tools are perfect for blending small areas and adding delicate details. They provide a gentle touch and can create subtle gradients.
- Blending stumps: Similar to tortillions, blending stumps have pointed ends for more precision. They can be sharpened to a desired point, allowing me to blend larger areas and create smooth transitions.
- Sharpening capability: Blending stumps can be sharpened to achieve different levels of pointiness, giving me control over the intensity of blending.
- Cotton swabs: In addition to tortillions and blending stumps, cotton swabs can also be used for blending. They provide a different texture and can create unique effects in my drawings.
With these blending tools, I’m able to achieve the smooth and seamless look that I strive for in my artwork.
Ink Pens
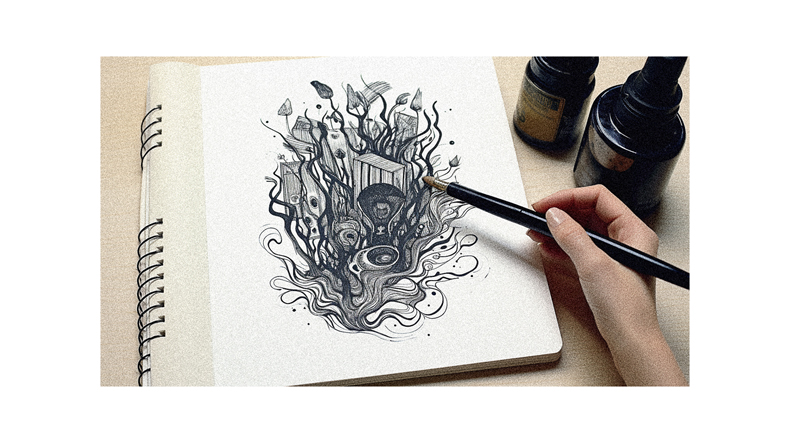
Ink pens are a great choice for adding fine details and line work to your drawings. They offer precision and control, allowing you to create a variety of line thicknesses. The different tip sizes of ink pens make it possible to achieve thin and delicate lines, as well as bold and expressive ones.
Additionally, the waterproof and archival ink used in these pens ensures that your lines won’t smudge or fade over time. By experimenting with different brands and styles of ink pens, you can find the one that suits your drawing style and preferences. Practicing different techniques with ink pens can greatly enhance the overall quality and impact of your drawings.
Follow us on Pinterest for more tips, tutorials, and artist reviews!