Like a blank canvas waiting to be transformed, I’ve always found joy in expressing myself through various artistic mediums.
But I’ve never fully invested in developing my fine art skills, always prioritizing other creative avenues.
Now, I’m ready for a new challenge – learning to draw realistic portraits in just 30 days.
Join me on this journey as I push myself to new limits and explore the world of portrait sketching.
Let’s get started!
Method #01: Starting With a Simple Circle Drawn Loosely
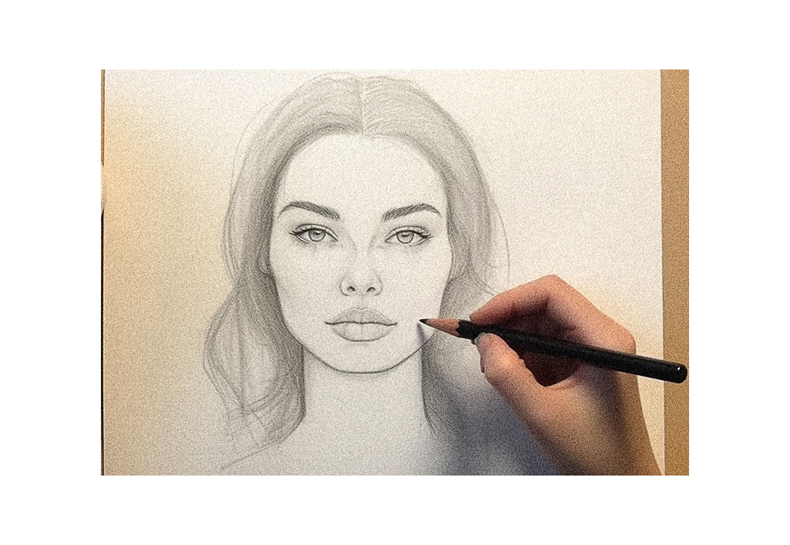
I’ll begin by lightly drawing a simple circle to start the portrait. This method is a great way to establish the basic shape of the head before adding more details. With a loose circle as my starting point, I can easily visualize the overall proportions of the face. It acts as a guide to help me accurately place the facial features later on.
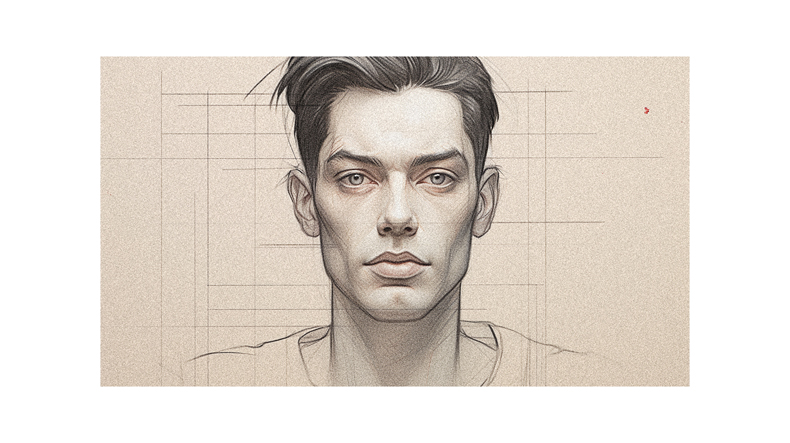
Method #02: Using Straight Lines for All the Beginning, Blocking-In Stages
For this method, I’ll use straight lines to block in all the beginning stages of the portrait. Straight lines help me visualize the angles and proportions of the face more accurately.
I extend my pencil to visualize the angles and refine the contour by breaking the angles into smaller segments. I look for lines that flow into one another and relate the elements on the face for a more organic block-in.
I also imagine vertical axis lines to measure points on the face and use imaginary lines to determine the placement of features. Gestures help connect the elements of the drawing and add movement and accuracy.
Method #03: Starting With a Cube to Establish the Shape of the Head
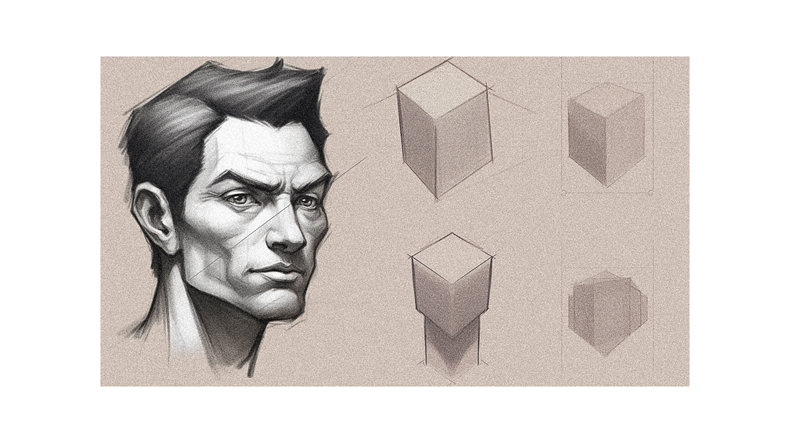
After completing the straight-line method, I start with a cube to establish the shape of the head. This method involves envisioning the head as a cube and drawing it accordingly.
I start by drawing a square for the front plane of the cube and then add lines to represent the sides and top of the cube. This allows me to establish the basic proportions and angles of the head.
From there, I can refine the shape and add details. Starting with a cube helps me visualize the head’s three-dimensional form and accurately capture its structure.
It’s a helpful technique that adds depth and realism to my portrait sketches.
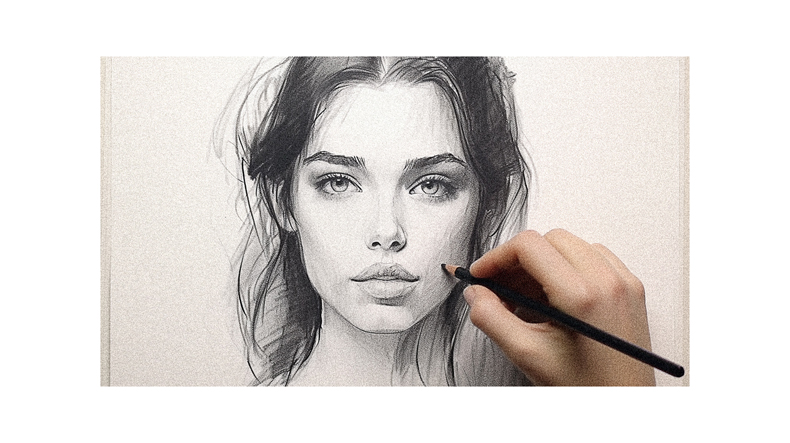
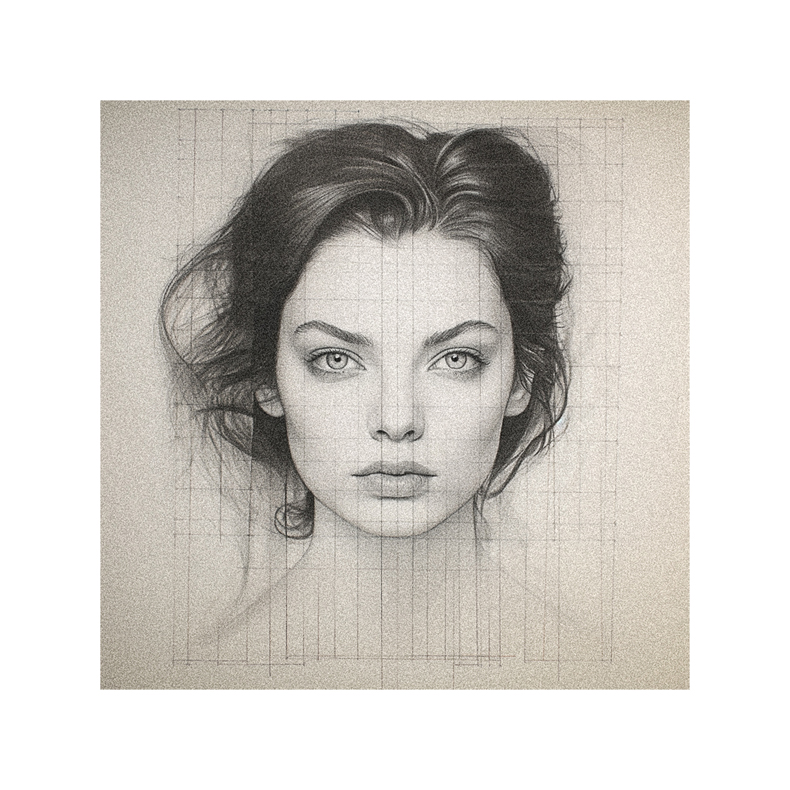
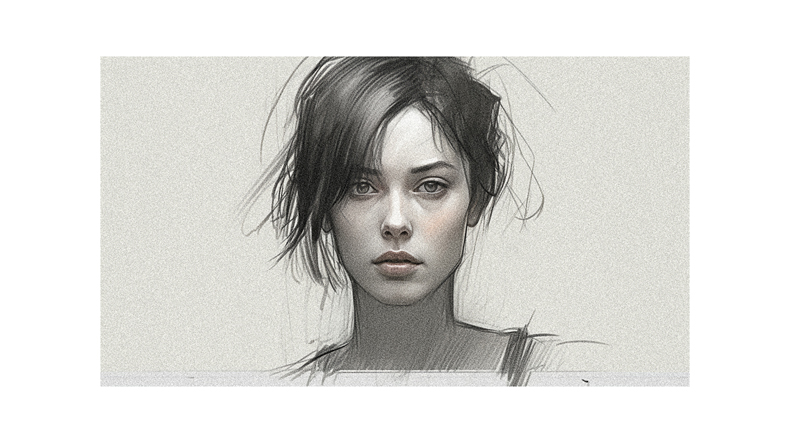
Method #04: Starting With Facial Features Instead of the Outline of the Head
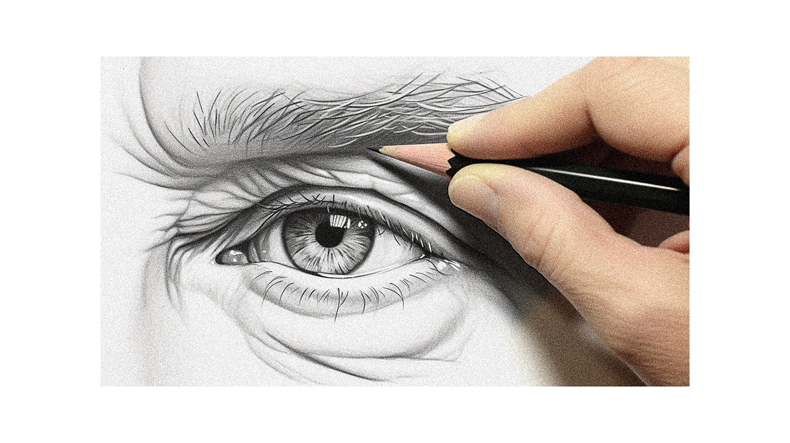
I can begin my portrait sketch by focusing on the facial features rather than the outline of the head.
This method allows me to capture the unique characteristics of the person’s face right from the start.
By starting with the eyes, nose, mouth, and other facial features, I can establish the likeness and expression of the portrait early on.
I can pay attention to the proportions and placement of these features, ensuring that they’re accurate and in harmony.
This approach also helps me capture the person’s individuality, as facial features often significantly convey their personality and emotions.
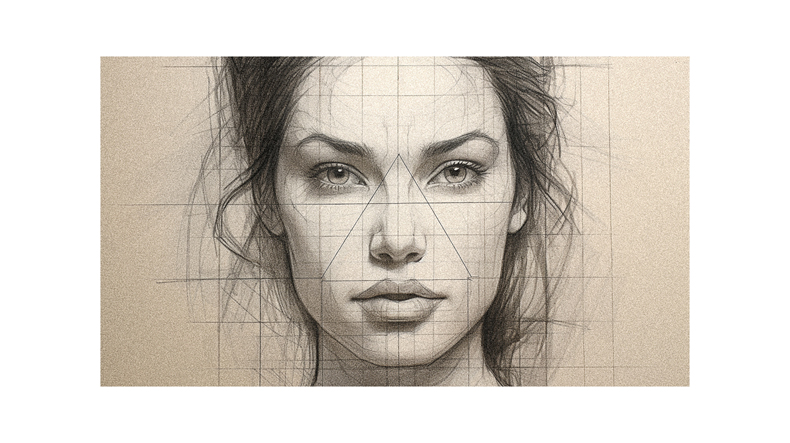
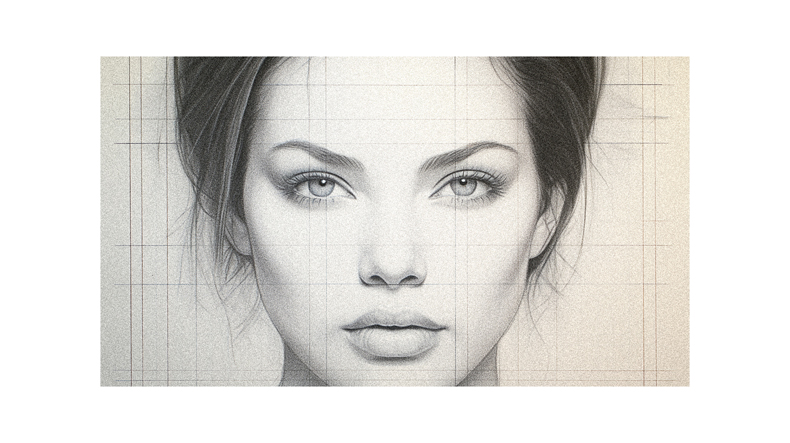
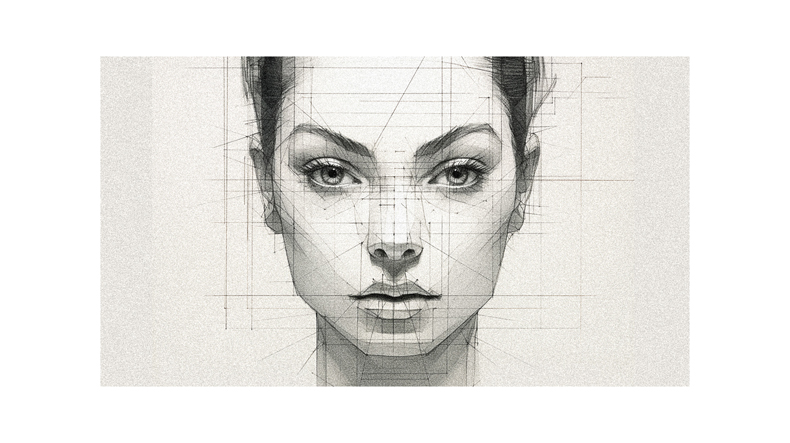
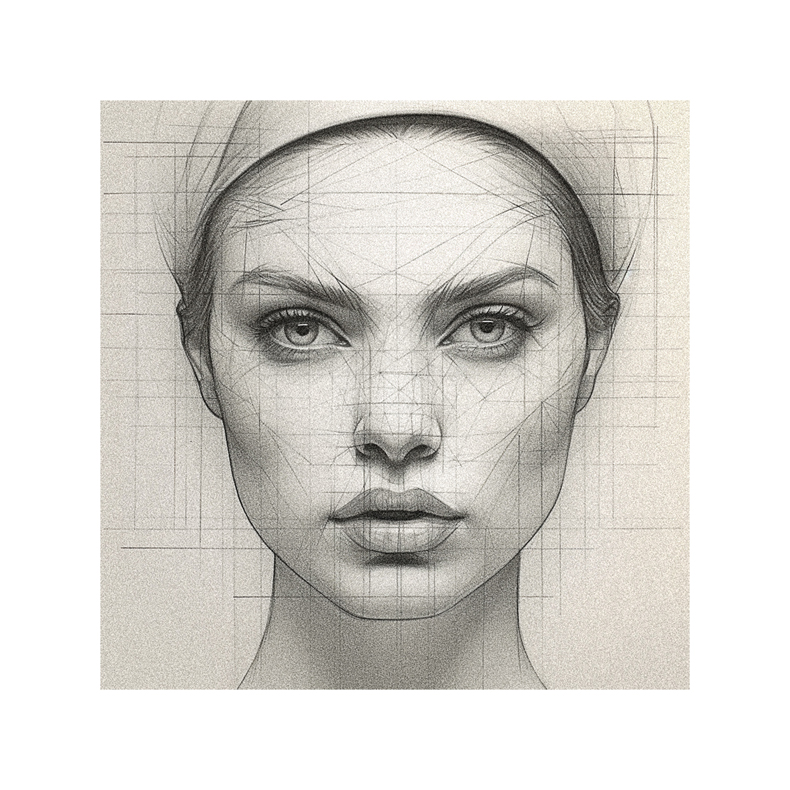
Method #05: Using Grids on Both the Reference and the Paper
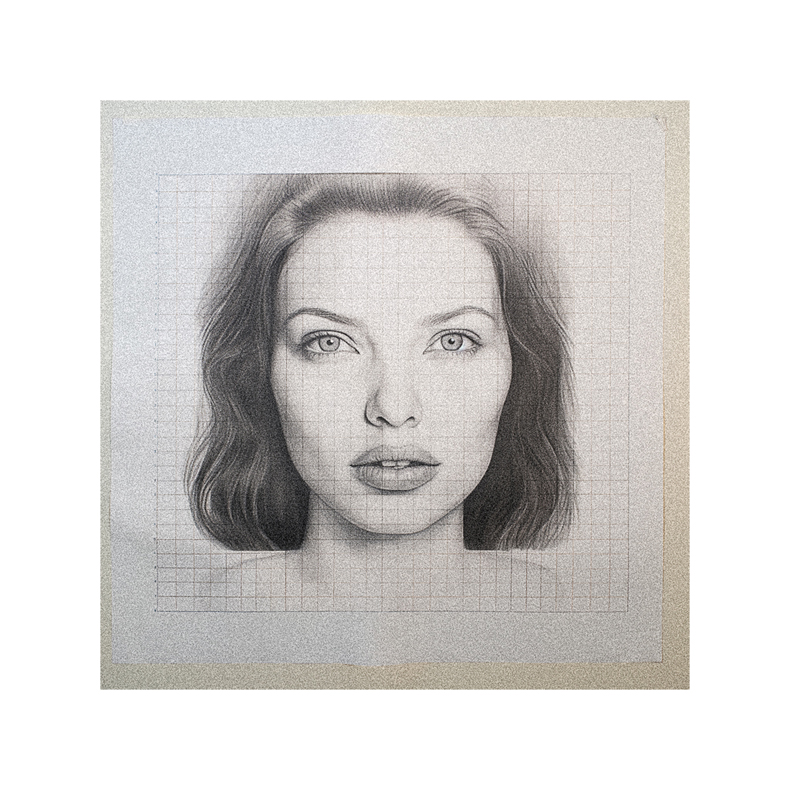
Using grids on both the reference and the paper can be a helpful method for achieving accurate proportions in portrait sketching. Grids provide a visual guide that breaks down the reference image and the drawing surface into smaller sections. By comparing the placement of the features in each grid square, you can ensure that your proportions are correct.
To use this method, draw a grid on the reference image and your paper. Make sure the number of squares in each row and column is consistent. Then, transfer the lines from the reference to your drawing using the grid as a guide.
This technique can be beneficial for beginners still developing their observational skills.
Method #06: Combining Any of the Above Methods and Creating a Mixture
Let’s explore combining the above methods and creating a mixture that suits our drawing style.
The beauty of art is that there are no hard and fast rules, and we have the freedom to experiment and find what works best for us.
We can start with a simple circle or cube to establish the shape of the head, use straight lines for blocking-in stages, or even begin with the facial features themselves.
We can also incorporate grids to ensure accuracy in proportions.
By combining different methods, we can create a unique approach that allows us to express our artistic vision.
General Tips and Considerations:
Focus on Placement and Proportions, Using Lines for Features, Matching the Sides of the Cube With the Sides of the Head, Measuring Small Distances Between Facial Features Accurately, Experimenting With Different Grid Sizes and Shapes, Allowing for Flexibility and Adaptation, and the Need for Practice to Understand and Maintain Proper Proportions
I focus on the placement and proportions of the facial features, using lines for features to easily adjust their placement, and matching the sides of the cube with the sides of the head. By paying attention to the placement of the eyes, nose, mouth, and other features, I ensure they’re accurately positioned on the face.
I also use lines to define the shape and structure of each feature, allowing me to make any necessary adjustments. Matching the sides of the cube with the sides of the head helps me maintain the correct proportions and create a more realistic portrait.
Additionally, I accurately measure small distances between facial features to ensure proper alignment. Experimenting with different grid sizes and shapes can also help achieve accurate proportions.
It’s important to remember that flexibility and adaptation are key, and that practice is necessary to understand and maintain proper proportions in portrait sketching truly.
Artistic Background and Previous Artistic Creations:
Strong Artistic Tendencies, Primarily Channeled Through Music, Film, and Computer-Aided Design, Limited Investment in Fine Art Skills, Reliance on Non-Fine Art Skills, Prior Artwork Created With Some Debate on Legitimacy, and a Shift in Mindset for the Current Challenge
Having a strong artistic background, my creative tendencies have primarily been channeled through music, film, and computer-aided design, with limited investment in fine art skills.
While I’ve always had a passion for artistic expression, I’ve prioritized other mediums over drawing. However, I’ve created a fair amount of art throughout my life, albeit with some debate on the legitimacy of these creations.
Recognizing the need for a shift in mindset, I’m now committed to investing in developing my fine art skills. This current challenge of portrait sketching allows me to explore a new artistic avenue and push myself to learn and grow.
I’m excited to see how my previous artistic experiences will inform and influence my approach to this new challenge.
Measuring Success:
Subjective Nature of Measuring Success, Comparison Between Starting Drawing and Example Portrait, Goal to Reach the Level of Realism in the Example Portrait, and Success Determined by Personal Judgment
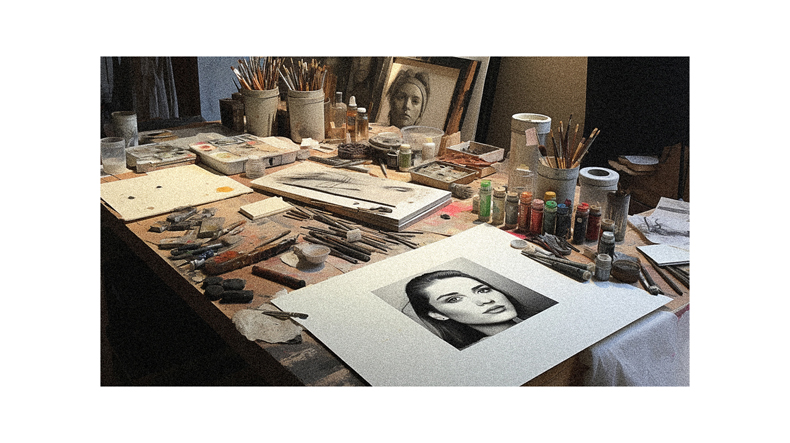
Since success in portrait sketching is subjective, it’s essential to compare my starting drawing to the example portrait from the Vitruvian Studio course and set a goal to reach the level of realism in the portrait, ultimately determining success based on my judgment.
Measuring success in portrait sketching isn’t simply a matter of achieving technical accuracy or replicating every detail perfectly. It’s about capturing the essence and character of the subject, as well as evoking an emotional response from the viewer.
The example portrait serves as a benchmark and inspiration for me to strive for realism and improve my skills. However, success ultimately rests on my evaluation and satisfaction with the final result. It’s a journey of self-expression and growth, where I can celebrate my progress and embrace the unique qualities of my own artistic style.
Cheating the Artistic Process:
Creating Art Without Relying on Well-Developed Fine Art Skills, Using Various Resources and Techniques to Compensate, Personal Decision on Whether This Approach Is Considered Cheating, and Commitment to Invest in Developing Fine Art Skills
Cheating the artistic process involves creating art without relying solely on well-developed fine art skills. This approach uses various resources and techniques to compensate for any lack of proficiency. It’s ultimately a personal decision on whether this approach is considered cheating. But I’m committed to investing in developing my fine art skills.
While some may argue that relying on these resources and techniques is cheating, I believe that it’s a valuable tool for beginners or those who may not have had the opportunity to develop their skills traditionally. It allows for experimentation and exploration and can help bridge the gap between where I’m now and where I want to be as an artist.
However, I also know the importance of investing time and effort into developing my fine art skills. This investment will ultimately lead to a deeper understanding and mastery of the craft.
Follow us on Pinterest for more tips, tutorials, and artist reviews!