So, you’re curious about how to do sublimation but not sure where to start. Don’t worry; you’re in the right place! I’ll walk you through all you need to know about sublimation for beginners in this detailed guide.
Sublimation printing is a great new skill to learn. It’s fun, practical, and creative, and it could even earn you some cash. You could do sublimation printing on products to sell as a side hustle or simply as a hobby.
Either way, read on to learn how to do sublimation printing from home. I’ll cover what you’ll need and what types of materials work for sublimation. By the end of this article, you’ll be ready to have your first go at sublimation printing.
What is Sublimation Printing?
You might have heard of sublimation printing, but you’re still not sure exactly what it is. So, here’s a quick introduction to sublimation printing and how it works.
Sublimation printing is a method of transferring a design onto a different material. It often uses pressure or heat (or both) to help the image transfer smoothly onto the new surface.
But it’s a bit different from simply painting or dyeing something. The dye isn’t just transferred onto the top layer of the cloth. Instead, it sinks into the very fibers of the fabric. And that means it won’t fade, flake, or wash away with time.
So, sublimation is quite a simple process, but it’s also very long-lasting. And as a result, it’s a great option if you want to print designs onto products and sell them. Your items will look amazing, and you’ll be sure to have happy customers.
But we’re jumping ahead. First, let’s learn a bit more about what materials you can do sublimation on, first of all.
Why You Should Try Sublimation Printing?

Sublimation printing for beginners is very accessible, so you can do it from your home. You don’t need too many specific tools, and they won’t cost you too much. I’ll share more about the equipment you’ll need for sublimation later on.
You’ll also be happy to hear that it doesn’t cost a lot of money to make sublimation prints. Once you’ve invested in the initial equipment, you should have pretty low ongoing costs. In comparison with other methods of adding images to clothes, it’s the most affordable option.
But despite this, you’ll find that your designs come out perfectly. Sublimation printing results in very high-quality images if you use the right materials.
So, it’s an accessible, cheap, and reliable way to print on clothes and other items. What’s not to like? Keep reading to find out how to do sublimation printing at home.
What types of materials work for sublimation printing?
Don’t skip this section – it’s crucial to your prints coming out right. You can just use any old type of fabric for sublimation printing. That’s down to how the process binds the dye to the fibers of the material. It only works with clothes that have a higher amount of polymer in the fabric.
The most common material to use for sublimation printing is polyester. But you have other options, too, including spandex and nylon.
The fabric doesn’t have to be 100% polyester – although it is one of the most effective fabrics for sublimation. One drawback of polyester is that it doesn’t feel very nice on the skin.
So instead, you could go for a polyester-cotton mix. This combination is easy to print on but feels much more comfortable when worn. You should look for a fabric with a higher polyester content or 50% at the very least.
Can you do sublimation on darker clothes?
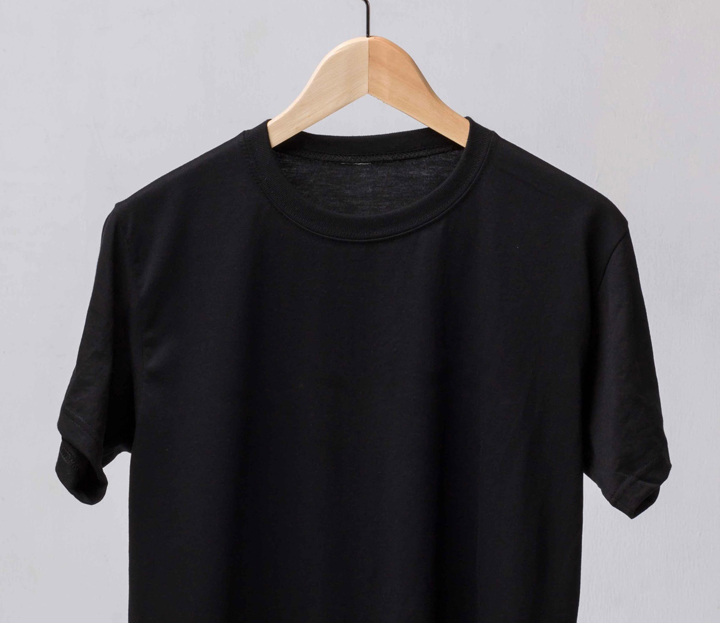
You might be wondering how to make sublimation transfers on dark clothing. Well, there’s an issue there. Sublimation fuses ink with the fabric, but ink won’t show up on dark clothes.
So, that’s why you’ll see most people only doing sublimation transfers onto white clothes. The paler the fabric, the better your design will show up.
But there is a workaround if you want to try sublimating onto dark fabric. However, you’ll need a printer capable of printing white ink. Not all printers offer this feature, so you might need to shop around.
Another alternative is to use white sublimation vinyl on the fabric first. For example, the EasySubli HTV works well for this. Glitter HTV is also suitable, as the flecks help the dye sink in and bond with the polymers.
You apply the HTV to the fabric, and then you can print your design onto the vinyl. It’s a little more complicated, but it gives the desired effect.
There’s a detailed tutorial on how to make a sublimation design on dark fabrics here. If you want to give it a try, you can follow along with the steps.
But it’s definitely simpler and easier to print on light-colored clothes. White, cream and pastel shades work best.
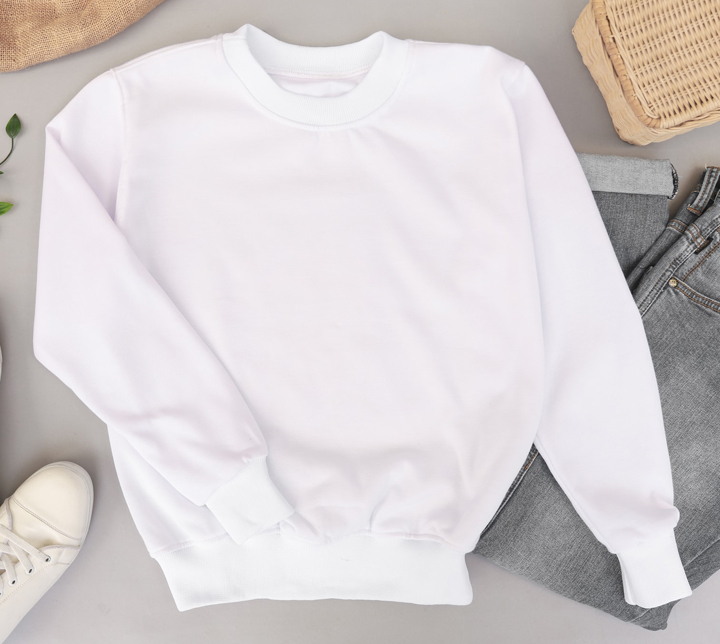
Can you do sublimation printing on shirts?
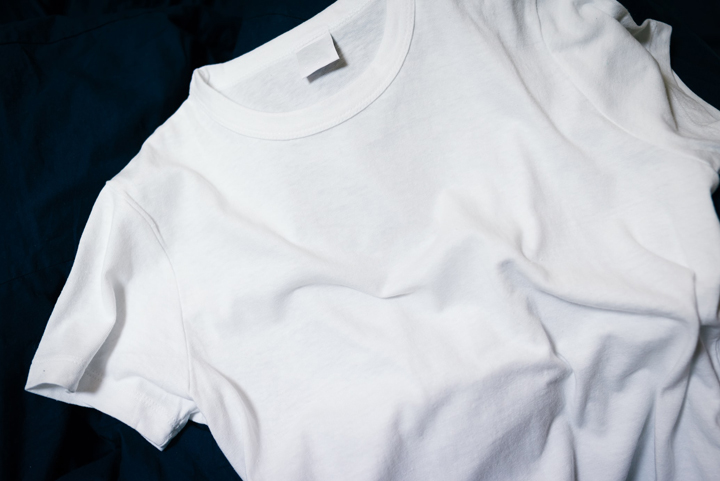
Yes, you should have no problem sublimating shirts and T-shirts – with a catch. As long as they have a high polymer content, they should work fine.
As mentioned above, spandex, polyester, or nylon shirts are good candidates for sublimation. Make sure that you choose a suitable color to print on, too.
Does sublimation work on cotton T-shirts?

Unfortunately, sublimation printing doesn’t work on pure cotton clothes. That’s because the sublimation inks can’t bond with the cotton fibers. So, your design simply won’t transfer.
But as I mentioned above, a cotton-polyester mix is a great alternative.
Wool is another fabric that isn’t suitable for sublimation. As it’s a natural product, it doesn’t contain any polymers for the ink to bond with. So, it’s missing the key ingredient essential for sublimation printing. Instead, you’ll need to opt for man-made materials (or a mix of both).
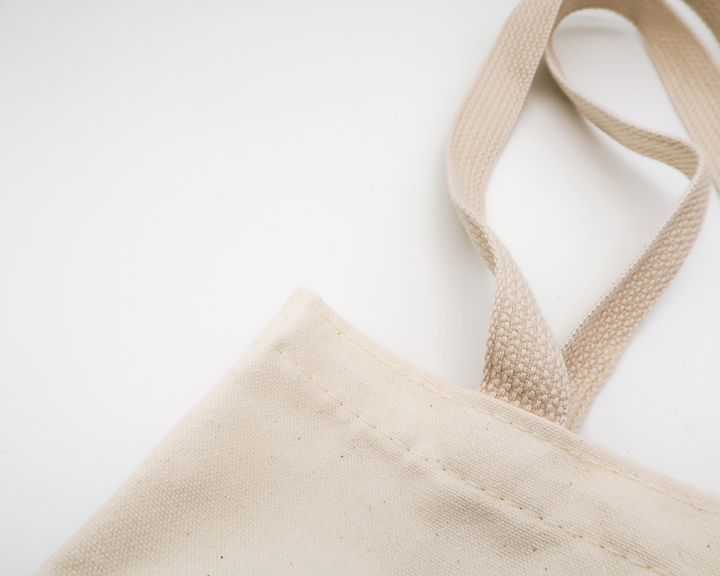
What other products can you do sublimation printing on?
You might think that your only options for sublimation printing are polyester fabrics. If you’re considering T-shirts, hoodies, and tote bags, that’s great.
But you can get a bit more creative if you like! You’re not just limited to printing on polyester fabrics.
For example, it’s possible to do sublimation printing on other materials, too. Certain materials like ceramic and even aluminum are possibilities. But they will only work if they have a special coating suitable for sublimation printing.
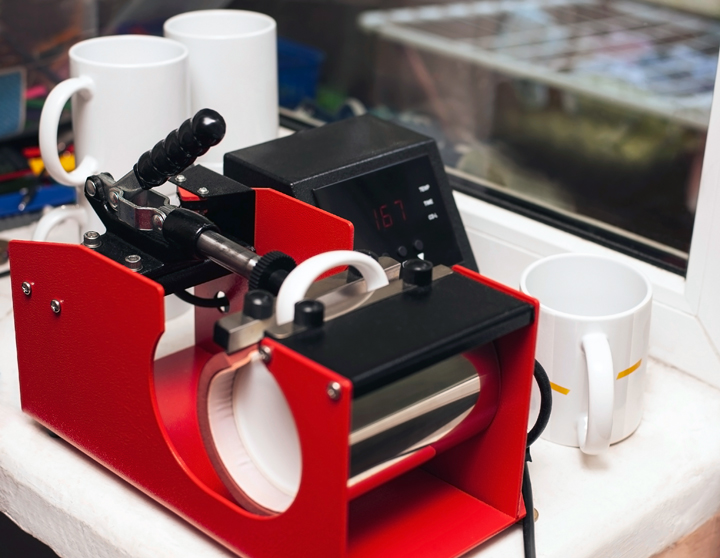
That does mean you have more options for what you can print on. Some ideas include mugs, personalized tiles, aluminum water bottles, and more.
What tools & equipment do you need for sublimation printing?
Let’s take a look at the equipment you’ll need to start sublimation printing. These tools are essential if you want to learn how to do print sublimation transfers at home.
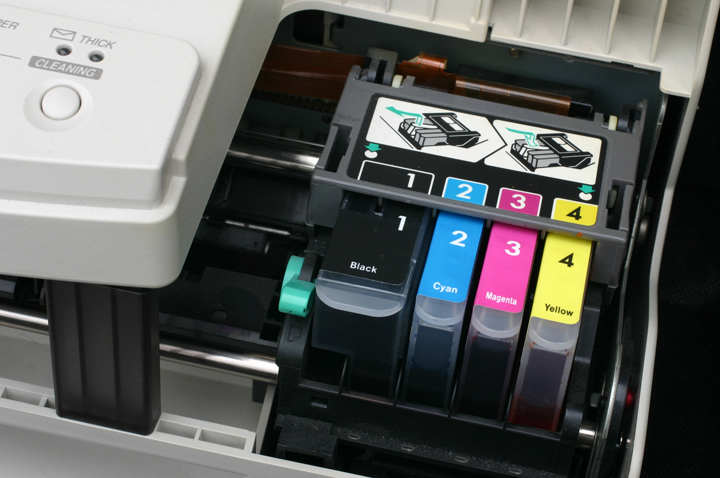
A Sublimation Printer
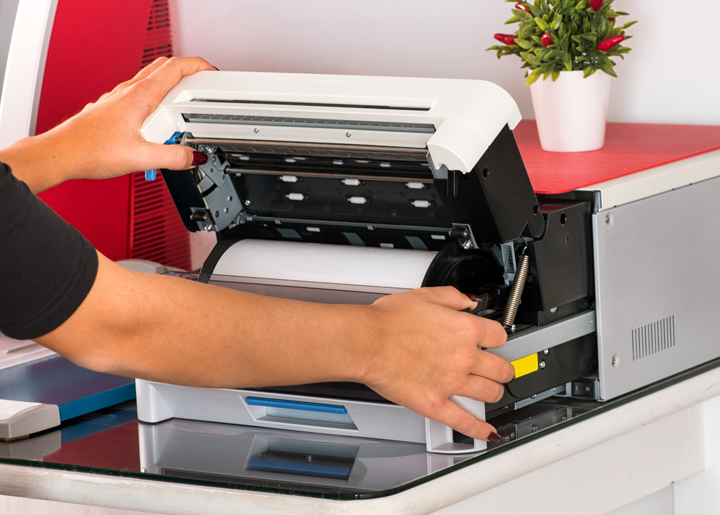
Not all printers are suitable for sublimation printing. So, you’ll need to choose your printer carefully. You can find expensive, manufacturing-grade printers for sublimation on a large scale.
But for your smaller operation, an inkjet printer will do! There are some great, affordable inkjet printers that work well for sublimation printing. Check out my reviews of the best sublimation printers here for my recommendations.
Sawgrass SG1000
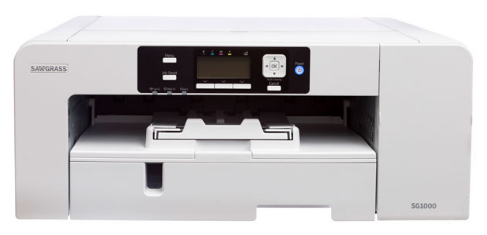
(Image credit: Sawgrass)
Check price on
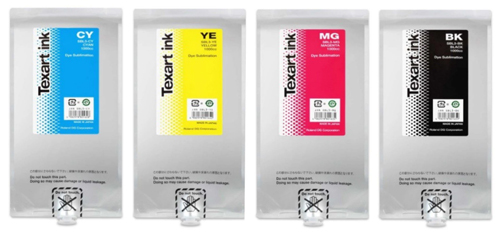
Sublimation Ink
Once you have a printer for sublimation, you’ll need the right kind of ink, too. When choosing ink for sublimation, there are a few factors to consider. These include the cost, print quality, and availability of the ink.
Some sublimation inks are very expensive but almost guarantee a perfect transfer. But there are also some more affordable options out there.
Before buying any ink, you should check its compatibility with your printer. Also, make sure to follow the manufacturer’s instructions. You could invalidate your warranty if you use a third-party ink cartridge.
Sublimation Ink Printers Jack

(Image credit: Printers Jack)
Check price on
Amazon
Roland Texart SBL3 1L Sublimation Ink Bundle
Check price on
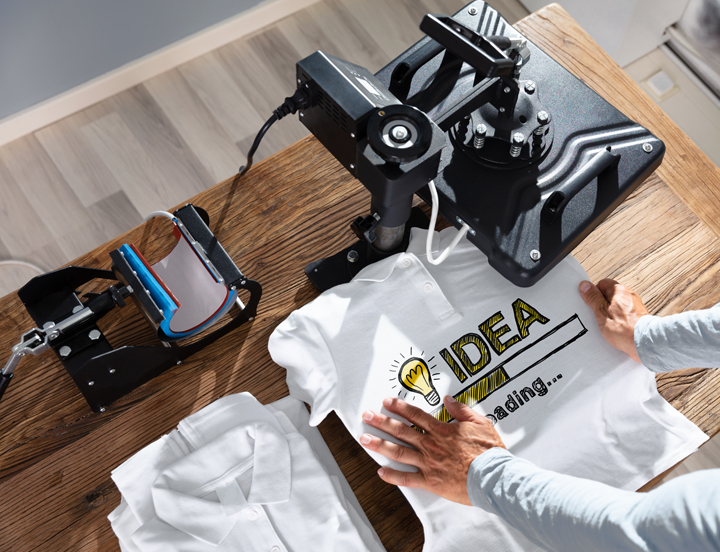
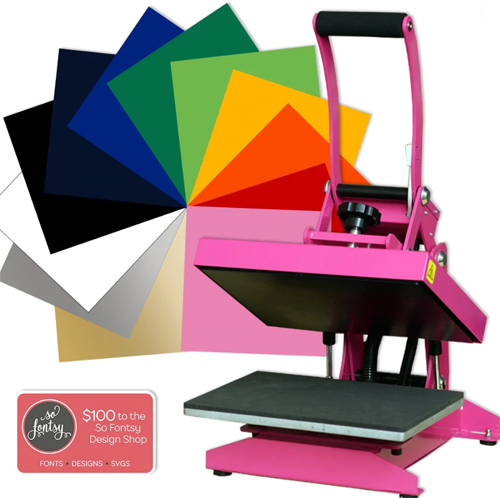
SwingDesignA Heat Press
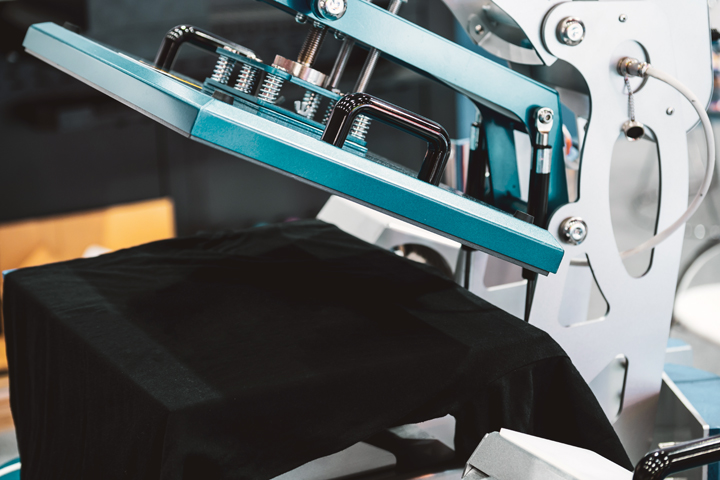
Once you’ve printed your design, in comes the heat press. It’s an essential piece of equipment, as you’ll use it to apply your design to the fabric.
It’s the heat that ensures the sublimation ink will bond with your material. So, make sure you get a decent heat press that’s large enough for all your designs.
Pink Pro Craft Heat Press
(Image credit: Sawgrass)
Check price on
SwingDesignSublimation Design Software

You’ll also need some kind of digital design software to create your transfer designs.
Check out my recommendations for the best software for sublimation designs further down.
Is a lint roller necessary for sublimation printing?
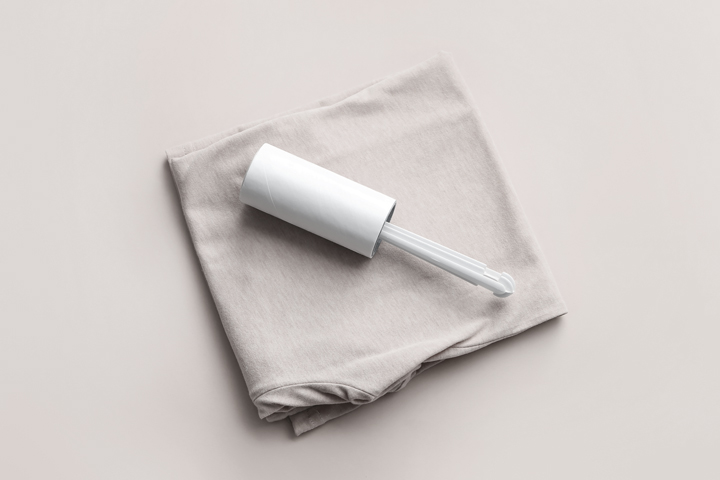
A lint roller will come in very handy in the sublimation printing process. That’s because you’ll want to remove any fluff or dirt stuck to the fabric before you start printing.
Little pieces of dust, hair, and debris can collect on clothes in the factory or at your home. So if you want your transfer to come out smoothly, you’ll need to remove these first of all.
And that’s why having a lint roller is useful. It will easily remove all the dirt and dust that’s collected, so you have a clean surface for your transfer. As a result, the finished piece will look much more professional.
How to Sublimate a Shirt
Now, you know what kind of materials and tools you’ll need. So, let’s dive into how to make a sublimation design on a shirt.
Here’s how to do sublimation printing on a T-shirt. Follow these steps, and you’ll have completed your first sublimation transfer!
1. Prepare Your Transfer Design
First, you need to create your transfer design in your chosen design software. It can be as simple or detailed as you like. Just make sure that the size will fit your T-shirt and your heat press.
2. Print Your Transfer Design
Once your design is ready, you’ll need to print it out. But remember that unless it’s symmetrical, you’ll need to flip it around to print it.
You’ll need the mirror image so that your images or writing come out the right way around. Otherwise, your image will be back to front, and you’ll need to start from scratch.
When you print your image, it will probably look very pale. That’s normal – so don’t worry! It’s only when you apply heat that the colors come to life.
3. Apply Heat to Your Transfer
Now, this is when your heat press comes in. You’ll need to place your paper face down on the fabric in the exact place you’d like your design. (But don’t forget to use your lint roller on the T-shirt first). Use heat-resistant tape to hold it in place.
Then, turn on your heat press and let it warm up. Cover your transfer paper with butcher’s paper, as this will prevent any damage to your heat press.
When your press is nice and hot, place it carefully onto the butcher’s paper. Hold it still and apply some pressure for around one minute. If you move it around, you could smudge your design. So, you’ll need to take great care with this step.
4. Remove the Sublimation Paper
Once the paper has cooled down, you can gently remove the paper from your T-shirt. And, ta-da! You’ve completed your first sublimation transfer and created a unique T-shirt!
The Best Sublimation Software Recommendations
You’ll need to use sublimation software to create your transfer designs. But there are quite a few different options out there. So, here are my recommendations for the best sublimation design software.
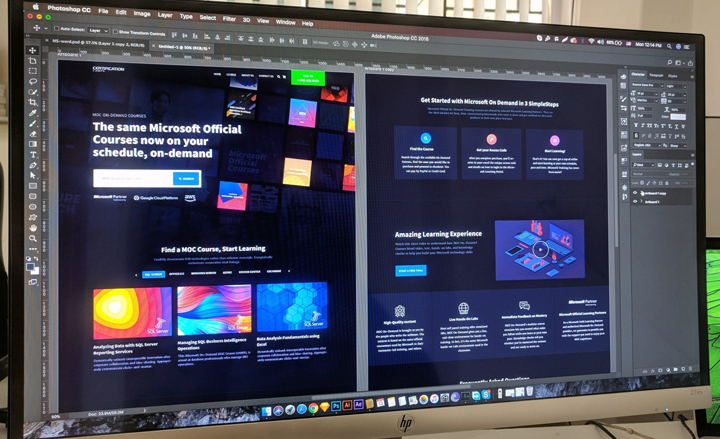
If you already have an Adobe Photoshop subscription, that’s the obvious choice. Photoshop is one of the best design programs out there for sublimation transfers. It’s powerful and comes with all the tools you need to create simple or intricate designs.
But Photoshop isn’t cheap, and you might not want to get tied down to a monthly subscription. So, you could use GIMP, a free, open-source program, instead. As it’s free, you can try it out with no commitment and see if it works for you.
Within GIMP, you can use many layers and access some of the same tools Photoshop provides. But it’s not as advanced as the Adobe software, so you might find that it limits your creativity.
CorelDRAW is another good option, and it offers an annual plan or one-off payment. If you go for the one-off payment, you can use it forever with no extra costs. So, it’s very cost-effective in the long run.
But there are a few things to note about CorelDRAW. It’s best suited to creating vector designs rather than raster images. So, if you use raster designs for your transfers, it might not work so well for you. But it’s one of the best out there for vector-based designs, and it’s very reasonably priced.

The Wrap Up
Now, you know all the basics of how to do sublimation printing. So, you should be ready to give it a try. Gather together your materials and tools and have a go for yourself!
I’d love to hear how your first attempts at sublimation printing go. But don’t worry if they don’t come out perfectly. Sublimation printing is both a science and an art.
With a bit of determination, you’ll soon have mastered sublimation printing. And then, the options are limitless. You can create cool personalized designs for you and your friends. Or, you could even set up a side hustle, selling your products from home to earn some extra cash.
Make sure to follow Proactive Creative for more tips, reviews, and tutorials.
This post contains affiliate links. If you make a purchase, Proactive Creative may receive a small commission at no additional cost to you.