You’ve been scribbling on scraps of paper since you could hold a pencil. But now, it’s time to elevate those doodles. Welcome to ‘Pencil Drawing Techniques for Novices.’ Here, you’ll master the art of line variety, hatching, crosshatching, and smooth shading. You’ll not just draw; you’ll breathe life into every stroke. So, grab your sketchbook; it’s time to unleash the artist within.
Basic Pencil Drawing Techniques for Novices
Surprisingly, as a beginner, you can create impressive pencil drawings by simply mastering a few basic techniques. Start by understanding your tool – the pencil. Different grades provide unique textures and tones, so experiment to find what works best.
Next, learn to control your lines. Light, almost invisible lines can guide your drawing without leaving noticeable marks. As you gain confidence, your lines will become bolder and more precise. Practice hatching and cross-hatching; these shading techniques can add depth and realism to your drawings. Finally, don’t forget to enjoy the process. You’re not just creating a drawing but expressing your unique view of the world. With practice and patience, you’ll soon see your skills grow.
Selecting the Right Pencil Grades

Why haven’t you considered the importance of selecting the right pencil grades for your sketches and how it could drastically affect your drawing outcome? Picking the correct grade isn’t as simple as grabbing any pencil. It’s about understanding the range from 9H (hardest and lightest) to 9B (softest and darkest).
- For initial sketches and light shading, you might lean towards:
- H-grade pencils, which are more challenging, give lighter lines.
- F-grade pencil, an intermediary between H and B grades.
- For dark shadows and bold outlines, consider:
- B-grade pencils are softer and provide darker lines.
- 6B or 8B, excellent for expressive, dark sketches.
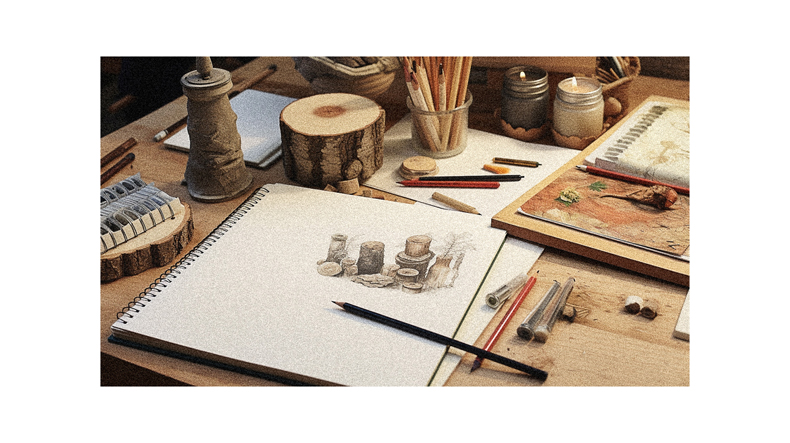
The Importance of a Small Sketchbook

Even though you’ve mastered the art of selecting the right pencil grades, you’ll find it’s equally vital always to have a small sketchbook to practice and refine your skills anytime, anywhere. It’s not just a piece of paper but a canvas for your creativity. Jot down your ideas as they come, and sketch random items you see or even people around you.
This constant practice will help you improve your skills. Additionally, carrying a sketchbook will allow you to capture moments and sights you may want to draw in detail later. So, don’t just focus on the pencil. Give equal importance to your sketchbook. It’s a tool that’ll turn your doodles into masterpieces, with every page revealing a new chapter of your artistic journey.
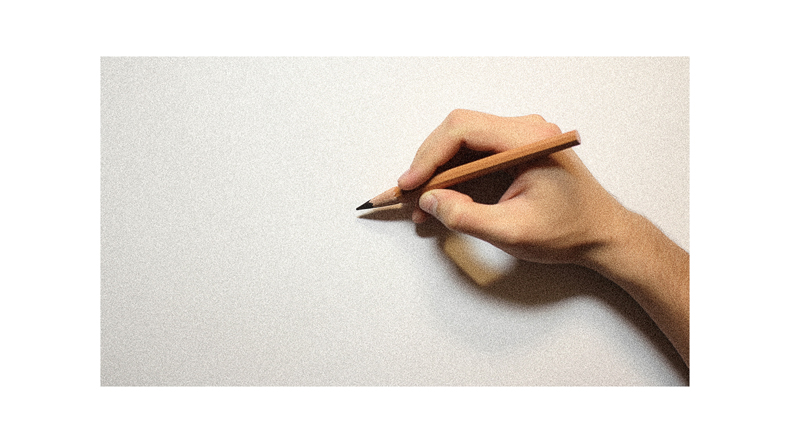
Mastering Outlines and Line Variety
You’ll see a vast improvement in your sketches once you’ve mastered the art of outlines and line variety. Your initial sketches should start with light, tentative outlines. These allow you to shape your drawing without committing too much to a particular line. As your design develops, you can increase the pressure on your pencil, creating more robust, more definite lines.
Here’s a simple process to enhance your line work:
- Start with a lighter outline:
- Sketch your basic shapes with less pressure.
- Erase and adjust these lines as your drawing progresses.
- Move to a heavier outline:
- Retrace your initial lines with more pressure.
- Develop your outlines and edges, but maintain the ability to erase if necessary.
Understanding Hatching and Crosshatching
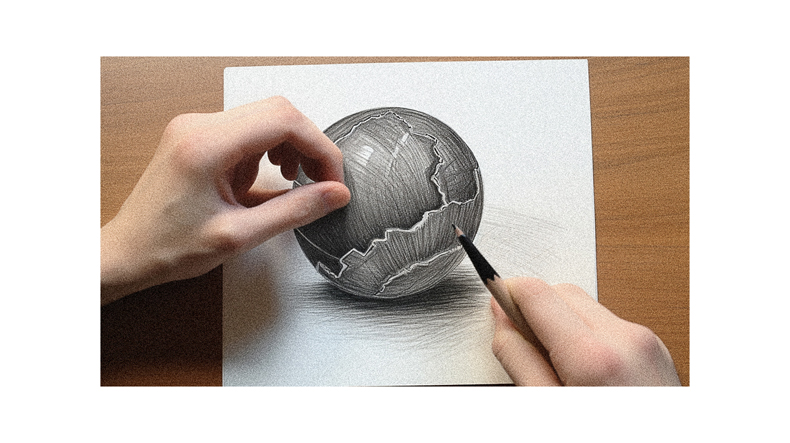
By using hatching and crosshatching techniques, you’re not only adding depth and dimension to your drawings but also enhancing the overall realism of your work. Hatching involves creating shading with closely drawn lines. You draw these lines in one direction, following the form of your object. This helps define it better.
Crosshatching, on the other hand, adds more value and depth. You draw hatching lines in one direction and then cross over them in the opposite direction. The closer and tighter the lines, the more realistic your sketch appears, as it’s harder to see individual pencil strokes. Remember, mastering these techniques takes practice. So, grab your sketchbook, start hatching and crosshatching, and watch your doodles transform into realistic drawings.
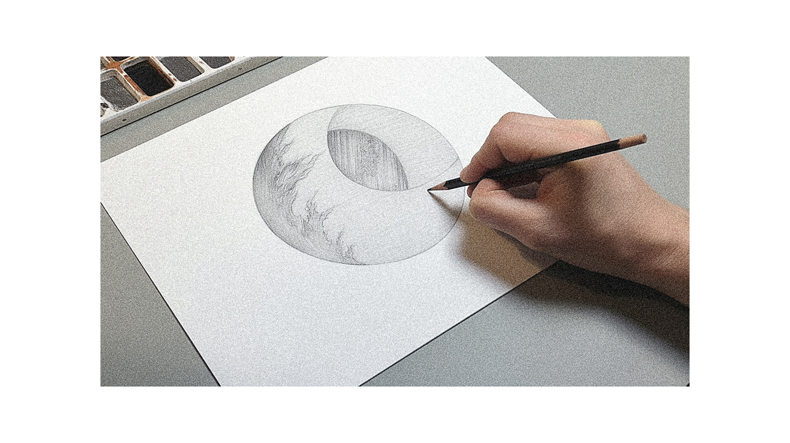
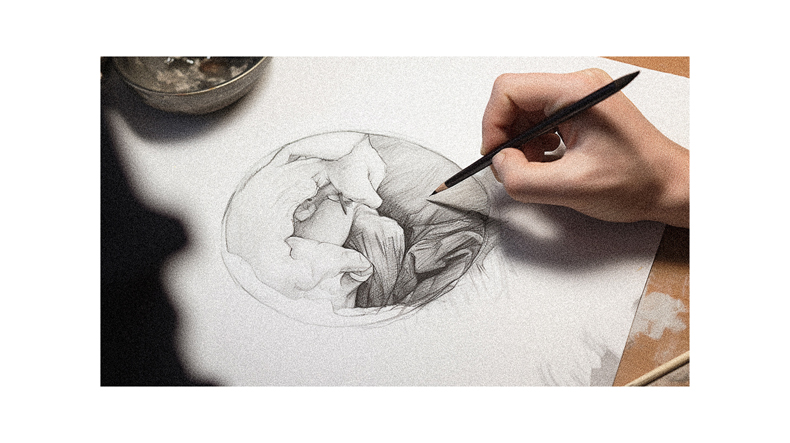
Creating Contrasting Textures With the Circular Technique
Now that you’ve mastered hatching and crosshatching let’s move on to creating contrasting textures with the circular technique, which can add a unique depth to your work. This technique involves creating a multitude of small circles, or scribbles, to form a contrasting texture. It’s especially useful when objects have similar values.
- Start by making tiny circles, moving your pencil in a swirling motion.
- Keep your circles tight and close together. The tighter they are, the more contrast you’ll achieve.
- Blend shading within these circles by applying more pressure to your pencil, creating darker values.
- Experiment with this technique. For example, you can use it to create realistic skin textures in portraits.
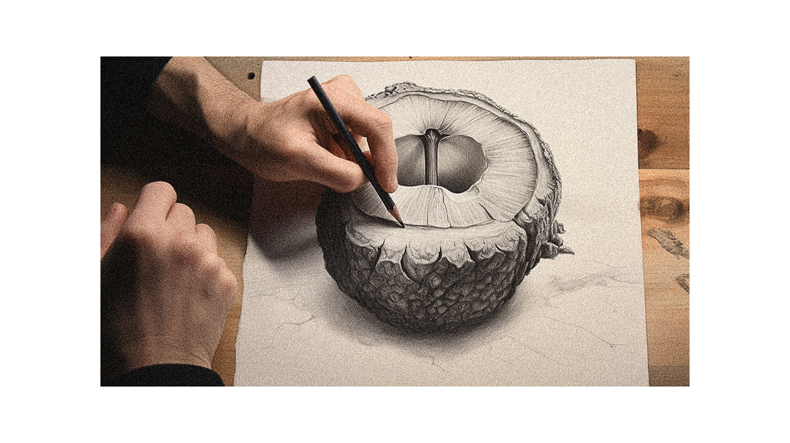
Achieving Smooth Shading in Your Drawings
After mastering the circular technique, you’re ready to tackle smooth shading in your drawings, which can add both depth and realism to your work. Start with light strokes, using the side of your pencil for broader lines. Progressively press harder and switch to a softer pencil for darker values. Keep your lines close together to achieve a seamless gradient.
You can also use hatching and then employ a smudging tool to blend pencil strokes. If you over-shade, don’t worry! Your eraser can lighten up the area. Remember, you’re using the paper’s whiteness for highlights, so don’t be afraid to create dark shadows. This contrast will make your drawings pop. Always remember, practice makes perfect.
Using Shading Tools for a Blending Effect
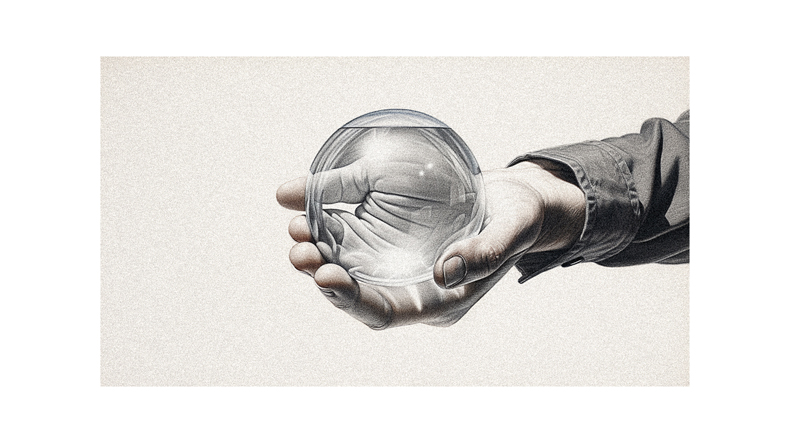
In your journey of mastering pencil drawing techniques, you’ll find that using shading tools for a blending effect can work wonders in bringing depth and realism to your work. You’re not just limited to your pencil. Blending stumps, tissues, or even your fingers can be effective tools to smudge and blend your pencil strokes, creating smooth gradients and transitions in your drawings.
- Shading tools you may use:
- Blending Stumps: These tightly rolled pieces of paper are great for detailed blending work. Their pointed ends allow you to blend even the most minor areas of your drawing.
- Tissues or cloth: Ideal for large areas, you’ll find it’s easy to create soft, smooth transitions with these tools. Just remember, the key to successful blending is practice and patience.
Gradually Building Dark Shadows for Depth
Why haven’t you tried gradually building dark shadows in your drawings for added depth yet? It’s an effective technique that can transform your work from flat and lifeless to vibrant and three-dimensional. Start with your lighter pencils and build to the darker ones, layering shadows to create depth.
But don’t be too heavy-handed right away. It’s a gradual process, adding more shadow where it’s needed. You’re sculpting with your pencil, carving out the light and the dark areas. This isn’t about rushing in with the darkest pencil you can find, and it’s about patience and subtlety. And remember, it’s okay to make mistakes. That’s what your eraser is for. So go ahead and give it a try. You might surprise yourself with the results.
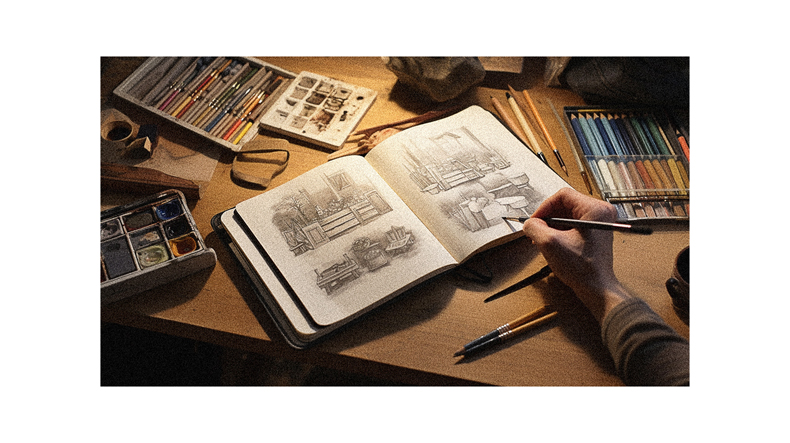
Essential Pencil Drawing Supplies and Basics
You’ll need more than just a single pencil for your drawings, and you’ll also find that a good-quality sketchbook and eraser are essential supplies for mastering the basics of pencil drawing. Different pencils have different grades; the higher the grade, the harder the lead and the lighter the mark. Lower-grade pencils are softer and create darker lines, ideal for shading.
Here’s a simple list of essential drawing supplies:
- Pencils:
- HB: for light shading and sketching
- B-6B: for dark shading and defining edges
- High-quality erasers:
- Kneaded: for lightening or completely erasing pencil marks
- Plastic: for fine details and cleaning up edges
- Sketchbook: get one that can handle the weight and texture of your pencil marks. A sketchbook is your playground, so don’t be afraid to make mistakes and learn from them.
Follow us on Pinterest for more tips, tutorials, and artist reviews!