As an artist and a parent, I’m thrilled to share my collection of step-by-step sketching tutorials for young artists.
Let’s dive into the world of creativity together and watch your child’s imagination flourish before our eyes.
From drawing adorable animals to vibrant landscapes, each tutorial is crafted to be easily understandable and enjoyable for young learners.
With clear instructions and helpful tips, your little artist will create their masterpieces quickly.
Let’s inspire their artistic journey!
Getting Started With Sketching
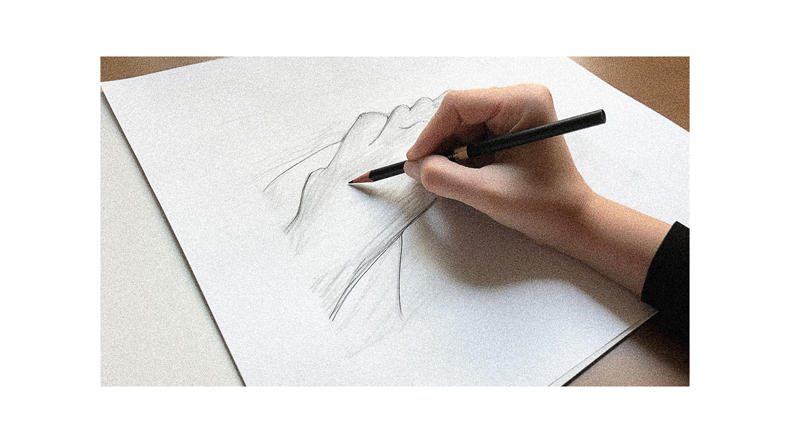
I will begin sketching by gathering my materials and finding a quiet space to work.
First, I’ll grab my sketchbook, pencils, eraser, and any other tools I want to use. It’s important to have everything ready before I start so I don’t have to interrupt my flow.
Once I’ve gathered all my materials, I’ll find a comfortable and quiet place to focus on sketching. This could be a cozy corner in my room or a peaceful spot in the park.
Creating a calm environment will help me concentrate and let my creativity flow.
With my materials gathered and a quiet space to work, I’m ready to dive into the world of sketching.
Essential Sketching Materials for Young Artists
You only need basic sketching materials, such as paper, pencils, and an eraser to start sketching. These materials are essential for any young artist to explore their creativity through drawing.
Regarding paper, choosing a sketchbook with thick, acid-free pages that can withstand multiple erasures and smudging is best.
As for pencils, a set of graphite pencils ranging from 2B to 6B is ideal for creating different shades and textures.
An eraser is necessary for making corrections and removing unwanted lines. Additionally, colored pencils and markers can be added to the collection to add color to the sketches.
Young artists can start sketching and bringing their imagination to life with these simple materials.
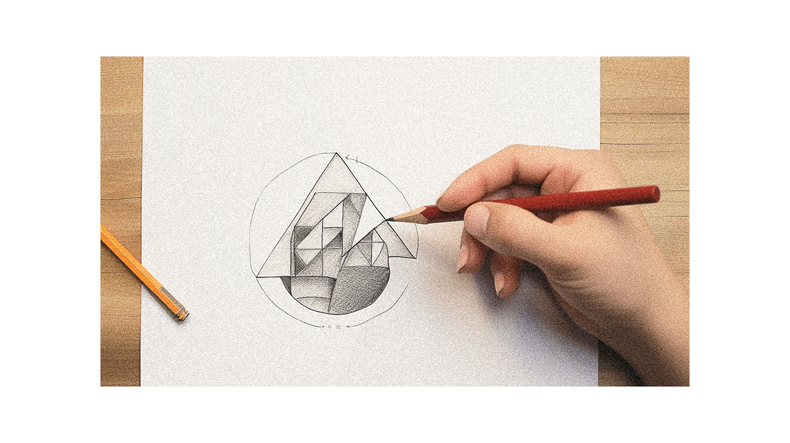
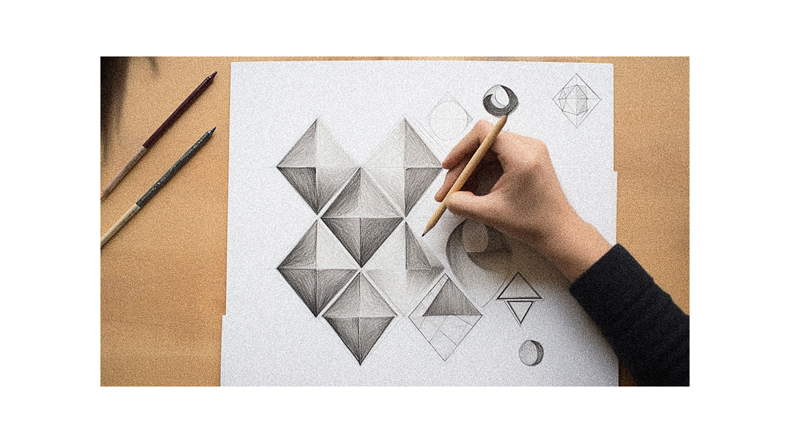
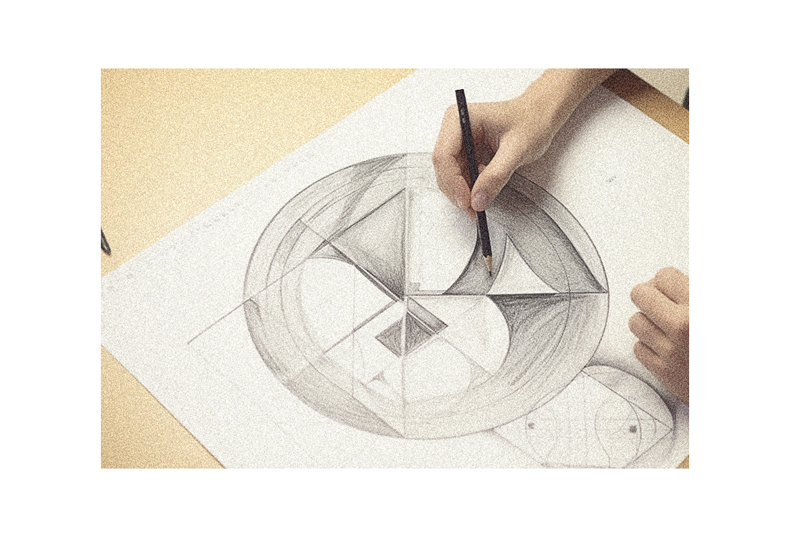
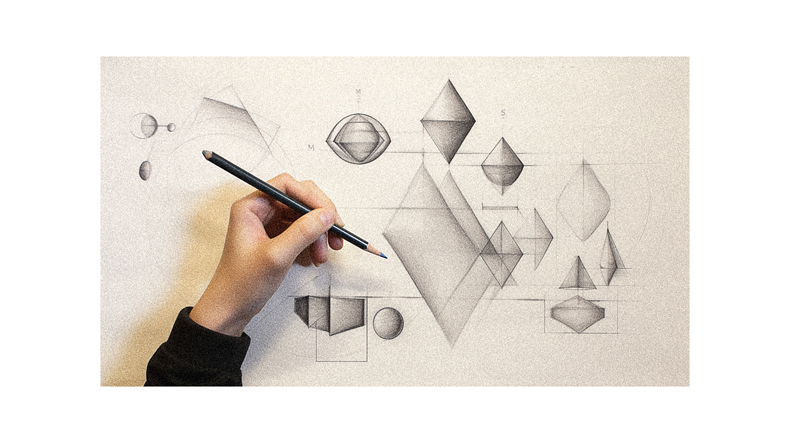
Understanding Basic Shapes for Sketching
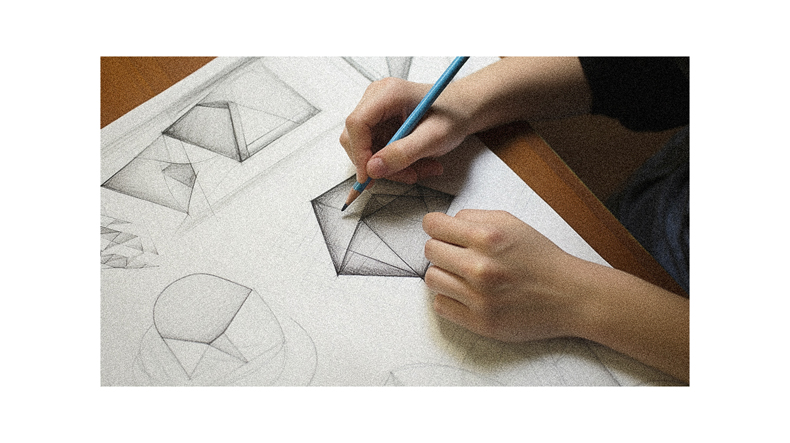
The understanding of basic shapes is crucial for sketching. When I first started learning how to sketch, my teacher taught me that everything can be broken down into simple shapes.
Circles, squares, triangles, and rectangles are the building blocks of any drawing. I could create more complex forms and objects using these basic shapes as a foundation.
For example, a person’s head can be represented by a circle, and rectangles and triangles can represent their body. Understanding how to simplify objects into basic shapes helped improve my sketching skills and make my drawings more accurate.
Practicing Lines and Strokes in Sketching

As I began sketching, I realized the importance of practicing lines and strokes to improve my drawing skills.
Lines and strokes are the basic building blocks of any sketch. They give shape, form, and texture to my drawings.
By practicing different types of lines and strokes, such as straight lines, curved lines, hatching, cross-hatching, and stippling, I can add depth, dimension, and details to my sketches.
Through repetition and constant practice, I can refine my hand-eye coordination and develop a steady hand.
Practicing lines and strokes helps me improve my technical skills, express my creativity, and bring my imagination to life on paper.
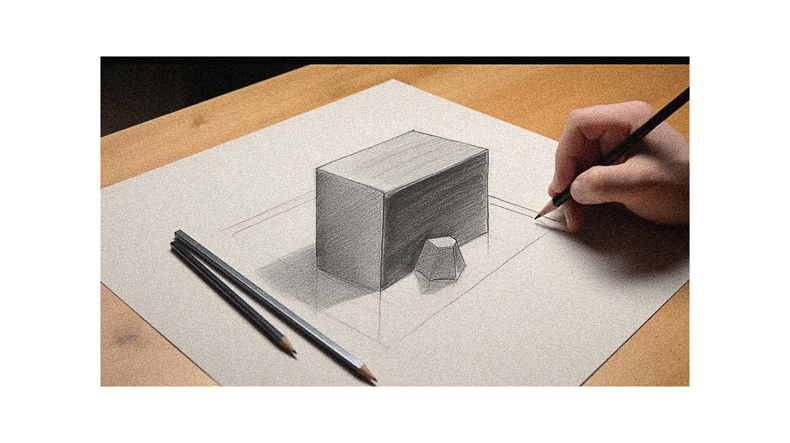
Adding Depth and Dimension to Sketches
I love using different techniques to bring depth and dimension to my sketches.
One technique I use is shading. I can create the illusion of depth and form by adding darker tones to certain areas and leaving others lighter.
Another technique I enjoy is using perspective. By drawing objects smaller as they recede into the distance, I can make my sketches appear three-dimensional.
I also like to experiment with overlapping. By drawing objects in front of or behind each other, I can create a sense of space and depth.
Lastly, I enjoy using highlights and shadows to add dimension to my sketches. By adding highlights to areas that catch the light and shadows to areas that are in shadow, I can make my drawings come to life.
Exploring Different Pencil Techniques for Sketching
One technique I love to explore when sketching is cross-hatching. It involves using parallel lines intersecting at different angles to create shading and texture in a drawing. By varying the spacing and density of the lines, you can achieve different effects and add depth to your sketches.
Another technique I enjoy is stippling, which involves creating patterns of dots to add shading and texture to a drawing. It requires patience and precision, but the result can be quite stunning.
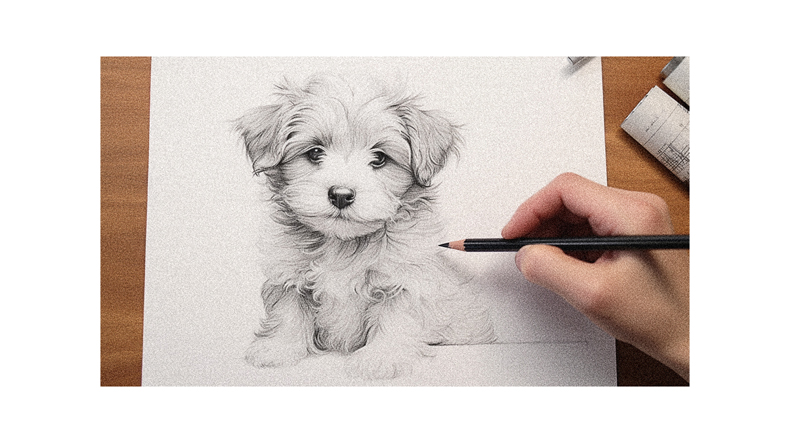
Sketching Animals Step-by-Step
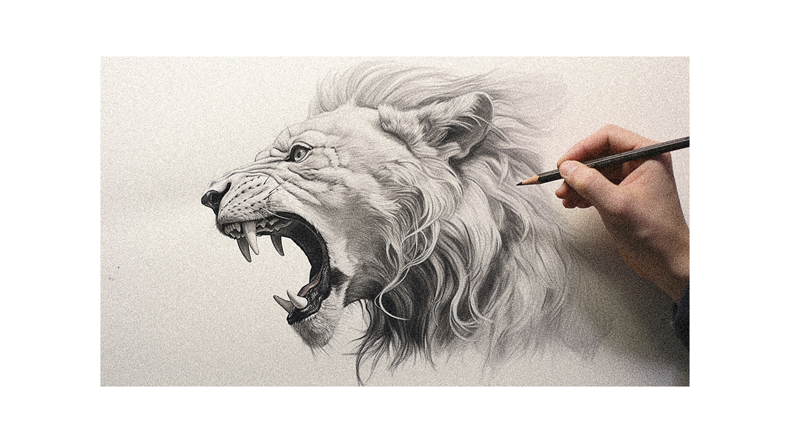
I love sketching animals step-by-step, starting with basic shapes and adding details to bring them to life. It’s a fun and rewarding process that allows me to capture the unique characteristics of each animal.
Here are three tips that have helped me improve my animal sketches:
- Start with simple shapes: Whether it’s a circle for the head or an oval for the body, breaking the animal into basic shapes helps me establish the overall proportions and structure.
- Add the details: Once I have the basic shapes, I gradually add details like eyes, ears, and fur. Paying attention to these small features brings the animal to life and adds personality to my sketch.
- Practice observation: Observing real animals or studying reference photos is essential for capturing the unique characteristics of each species. Paying attention to how they move, their body proportions and their distinctive features helps me create more accurate and lifelike sketches.
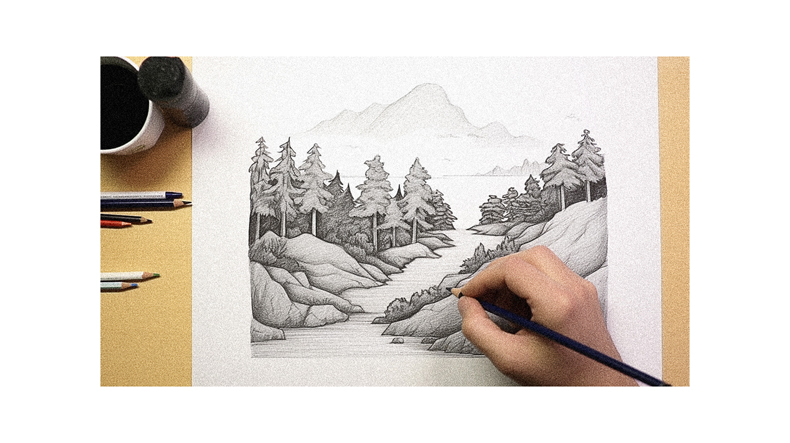
Sketching Nature and Landscapes for Young Artists
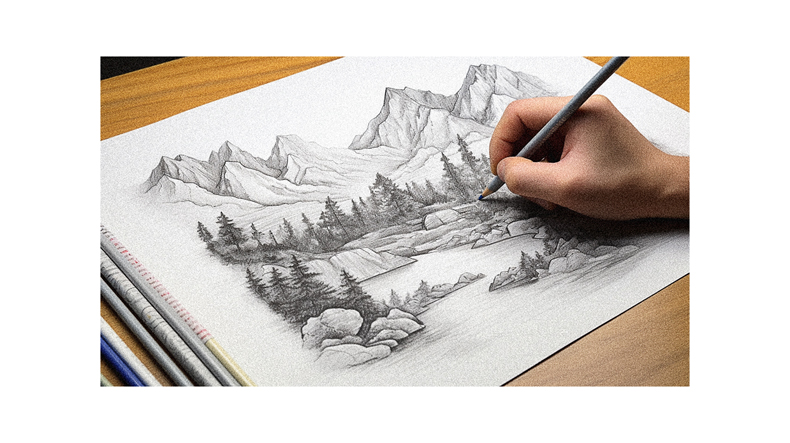
I love sketching nature and landscapes for young artists, as it allows them to explore the beauty of the outdoors through their artwork.
Nature provides endless inspiration with its vibrant colors, interesting textures, and diverse forms. When children sketch nature, they not only improve their observation skills, but also learn to appreciate and connect with the natural world around them.
Whether it’s a blooming flower, a towering tree, or a picturesque landscape, sketching nature encourages children to slow down, observe their surroundings, and capture their impressions on paper. It’s a wonderful way for young artists to express their creativity and develop a deeper appreciation for the environment.
Plus, sketching nature can be a calming and meditative activity that allows children to relax and find joy in the simple act of drawing.
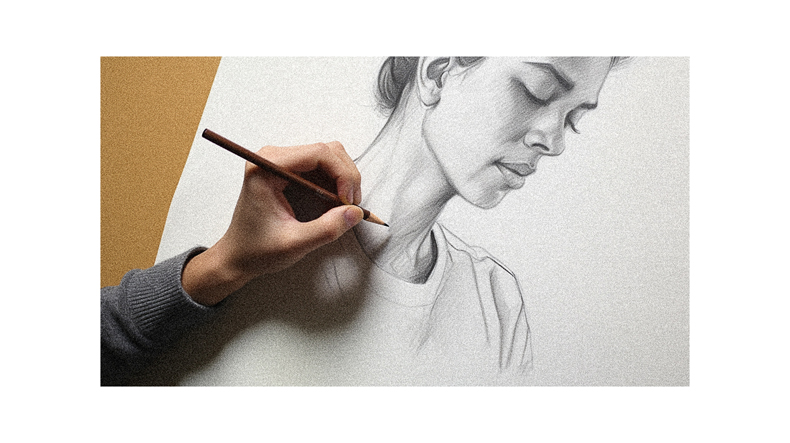
Portraits: Capturing Likeness in Sketches
While drawing portraits, I strive to capture the likeness of my subject through careful observation and attention to detail. To achieve this, there are a few key techniques that I find helpful:
- Start with the basic shapes: I begin by sketching the overall shape of the head and then add in the basic shapes for the features. This helps me establish the proportions and layout of the face.
- Pay attention to the details: I focus on the unique characteristics of the person I’m drawing, such as the shape of their eyes, the curve of their lips, or the angle of their nose. These details help bring the portrait to life and make it recognizable.
- Practice shading and value: I can create depth and dimension in my portraits by adding shading and value. I pay close attention to the light source and how it affects the different areas of the face, using lighter tones for highlights and darker tones for shadows.
Sketching Objects and Still Life
Exploring the world of sketching, I enjoy capturing the beauty of objects and still life through detailed observation and careful strokes. Sketching objects and still life allows me to practice my skills in observing and representing different shapes, textures, and proportions.
Whether it’s a simple vase of flowers, a bowl of fruit, or a collection of everyday objects, I find joy in bringing them to life on paper. I can create depth and realism in my sketches by paying close attention to the details and using different shading techniques.
Sketching objects and still life also helps me develop my patience and concentration as I take the time to study and recreate the objects in front of me.
Exploring Perspective in Sketching
To enhance my sketching skills, I love experimenting with perspective and using it to create a sense of depth and dimension in my drawings. Perspective adds realism and makes my sketches more visually interesting.
Here are three ways I explore perspective in my sketching:
- One-point perspective: I start by drawing a horizon line and a vanishing point. Then, I create objects that recede into the distance, making them smaller as they get farther away.
- Two-point perspective: This technique involves drawing two vanishing points on the horizon line. I use these points to create the illusion of depth and angle in my sketches.
- Foreshortening: Foreshortening is a technique that makes objects appear shorter or compressed when they’re closer to the viewer. I practice this by drawing objects at different angles and exaggerating their proportions.
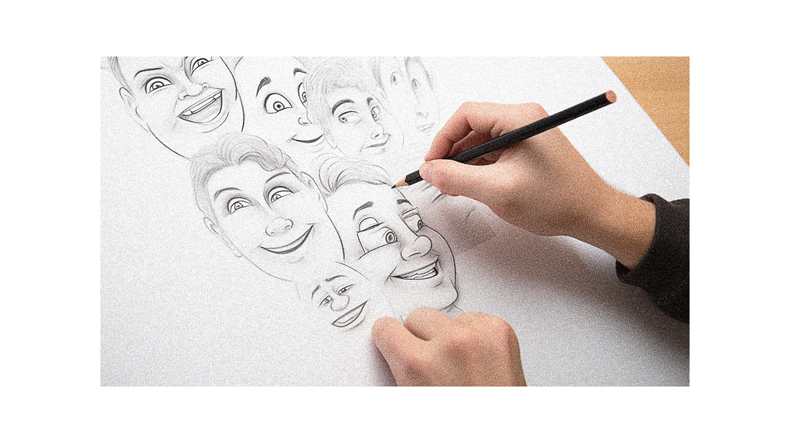
Sketching Expressive Faces and Emotions
I often use many techniques to capture my sketches’ expressive faces and emotions.
One of my favorite techniques is focusing on the eyes. I believe that the eyes are the window to the soul and can convey a wide range of emotions. By paying attention to the shape, size, and placement of the eyes, I can bring life to my sketches.
Another technique I use is studying facial expressions. I observe people in different situations and try to capture their expressions in my sketches. These expressions add depth and personality to my drawings, whether it’s a smile, a frown, or a look of surprise.
Lastly, I experiment with shading and highlighting to create depth and dimension in the faces. By using these techniques, I can sketch expressive faces and emotions that truly resonate with viewers.
Creating Dynamic Movement in Sketches
One technique that can excite sketches is using lines and shapes to create dynamic movement. There are several ways to achieve this effect in your artwork:
- Curved lines: Incorporate curved lines into your sketches to convey a sense of motion and flow. Experiment with different curve shapes to capture the movement you want to portray.
- Overlapping shapes: Overlapping shapes can create depth and suggest movement in your sketches. By overlapping objects or figures, you can create the illusion of one element moving in front of another.
- Action lines: Action lines are drawn to represent movement or energy. You can use them to indicate the direction and speed of a moving object or character in your sketch.
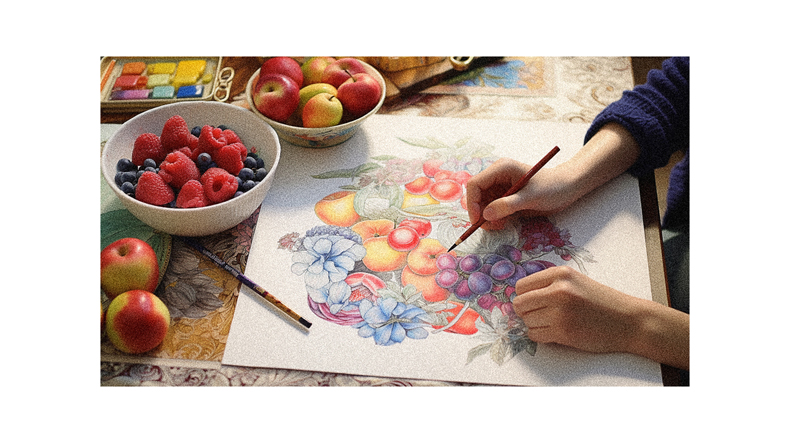
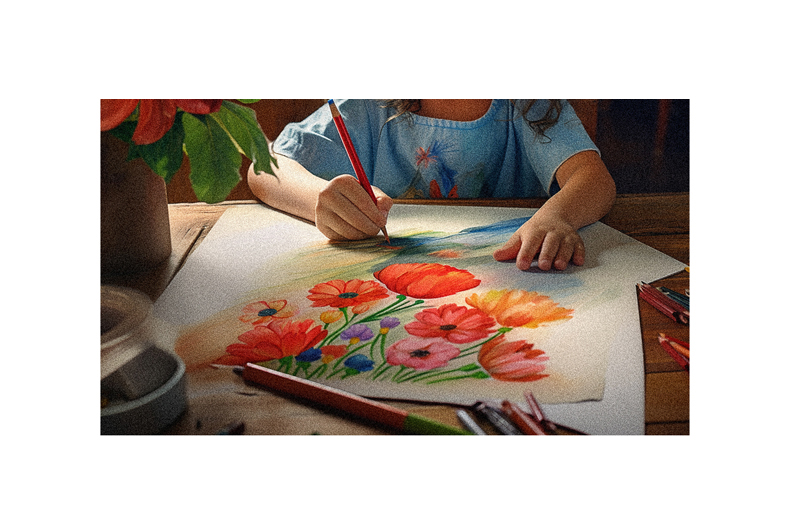
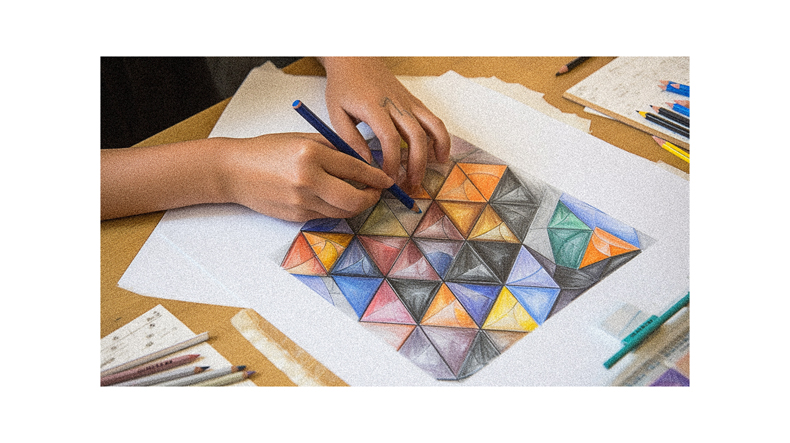
Sketching With Color: Introduction to Colored Pencils
I love using colored pencils because they bring vibrant and lively hues to my sketches. They add a whole new dimension to my artwork and allow me to create beautiful and expressive drawings.
When using colored pencils, I start by selecting a color palette that complements the subject I want to draw. I then layer the colors, gradually building up the intensity and depth of the shades.
One of the things I enjoy the most about working with colored pencils is the ability to blend and mix colors, creating smooth transitions and gradients. It’s important to experiment and practice with different techniques, such as cross-hatching and burnishing, to achieve different effects.
With colored pencils, the possibilities are endless, and I can’t wait to continue exploring and creating with them.
Exploring Light and Shadow in Sketching
As an artist, I love exploring the interplay of light and shadow in my sketches, as it adds depth and dimension to my drawings. Here are three reasons why exploring light and shadow is important in sketching:
- Realism: Light and shadow help create a sense of realism in sketches. By understanding how light falls on objects and creates shadows, I can accurately depict the form and texture of the subject.
- Visual Interest: Light and shadow add visual interest to a sketch. They create contrast and highlight certain areas, making the drawing more dynamic and engaging to look at.
- Mood and Atmosphere: Light and shadow can also convey mood and atmosphere in a sketch. By playing with different lighting techniques, I can evoke different emotions and set the tone for the artwork.
Sketching Everyday Objects and Scenes
There’s something magical about sketching everyday objects and scenes that brings them to life on paper. As a young artist, capturing the familiar objects and scenes surrounding me in my sketches is exciting.
Whether it’s a vase of flowers, a cozy living room, or a bustling city street, sketching allows me to observe and appreciate the beauty in the ordinary. I love how the lines and shading create depth and dimension, making the objects and scenes come alive.
Sketching everyday objects and scenes also helps me improve my drawing skills and develop my artistic style. It’s a wonderful way to express my creativity and share my unique perspective with others.
Sketching People in Action
Every day, I see people in action all around me, and sketching allows me to capture their dynamic movements and expressions. Observing how people interact with their environment and each other is fascinating, and I try to capture those moments in my sketches.
Here are three tips that have helped me sketch people in action:
- Observe and study body language: Pay attention to how people move and position their bodies in different actions. Notice the gestures, postures, and expressions that convey their emotions and intentions.
- Capture the essence of movement: Instead of focusing on every detail, try to capture the energy and flow of the movement. Use loose, gestural lines to convey the sense of motion and rhythm.
- Practice quick sketches: People in action don’t stay still for long, so it’s important to be able to sketch quickly. Practice doing quick, timed sketches to improve your speed and accuracy in capturing those fleeting moments.
Sketching From Imagination: Creating Original Characters
I often find myself sketching from my imagination, creating original characters that come to life on the page. It’s a thrilling experience to envision unique personalities and bring them to existence through my artwork.
When sketching from my imagination, I let my creativity run wild, allowing the lines and shapes to flow freely. I start by imagining the character’s appearance, considering their physical features, clothing, and accessories. Then, I focus on their expressions and body language, capturing their emotions and conveying their story through my drawings.
It’s a process of exploration and experimentation, as I play with different poses, angles, and details to make each character truly unique. Sketching from imagination allows me to unleash my creativity and create a world of endless possibilities.
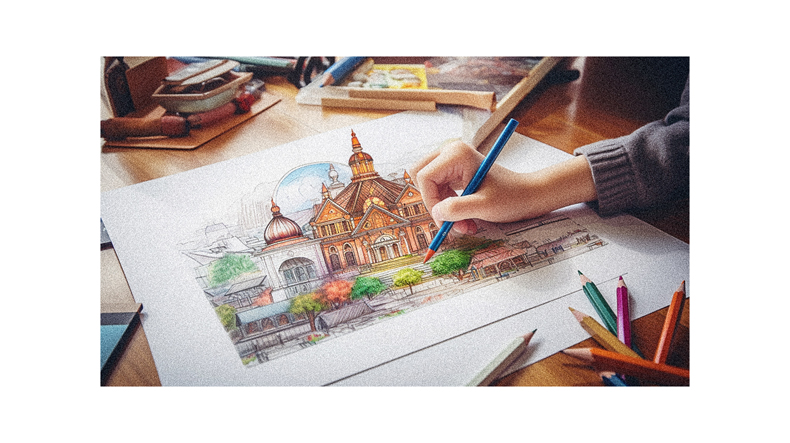
Sketching Architectural Structures and Buildings
I enjoy sketching various architectural structures and buildings, but I particularly love capturing the intricate details of historic landmarks. There’s just something fascinating about the way these structures were constructed and the stories they hold.
When sketching architectural structures and buildings, here are three things that I find helpful:
- Start with basic shapes: Breaking down complex structures into simple shapes helps me understand the overall form and proportions. It’s like putting together a puzzle, piece by piece.
- Pay attention to details: Whether it’s the ornate carvings on a cathedral or the unique windows of a modern building, capturing the intricate details adds depth and character to the sketch.
- Experiment with perspective: Playing with different angles and viewpoints can create interesting compositions. It allows me to showcase the grandeur and unique features of the architectural structure.
Putting It All Together: Showcasing Your Sketching Skills
Now, let’s combine all the techniques we’ve learned and showcase our sketching skills in a final piece of artwork.
This is the exciting part where we combine everything and see how far we’ve come.
Start by choosing a subject that inspires you, whether it’s a favorite animal, a landscape, or even a person.
Use your knowledge of basic shapes, proportions, and shading techniques to bring your subject to life on the paper.
Experiment with different pencil strokes and textures to add depth and detail to your drawing.
Don’t be afraid to make mistakes; they’re part of the learning process.
Remember, the most important thing is to have fun and express yourself through your artwork.
Follow us on Pinterest for more tips, tutorials, and artist reviews!