Drawing Techniques
- Step-by-Step Sketching Guide for Young Aspiring Artists

- Seamless Transition from Sketching to Painting: Expert Guidance
- Navigating Sketching Materials: A Comprehensive Guide

- Creative Daily Practice: Sketchbook Ideas & Inspiration

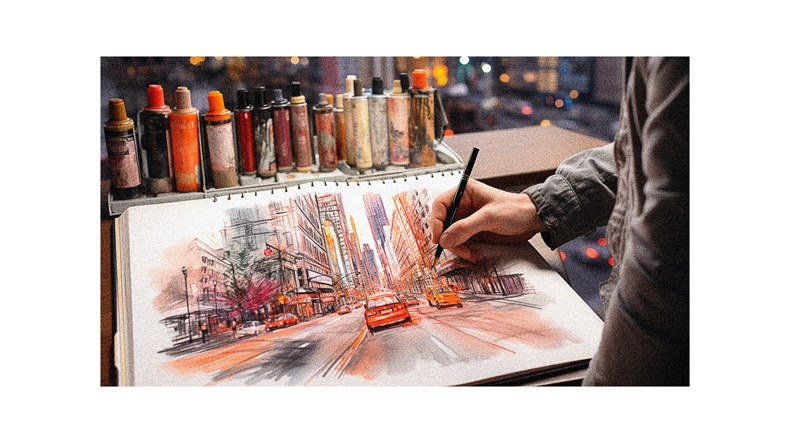
- Urban Landscapes in Minutes: Quick Sketching Techniques
- Embark on Portrait Sketching: Beginner’s Guide

Painting Techniques
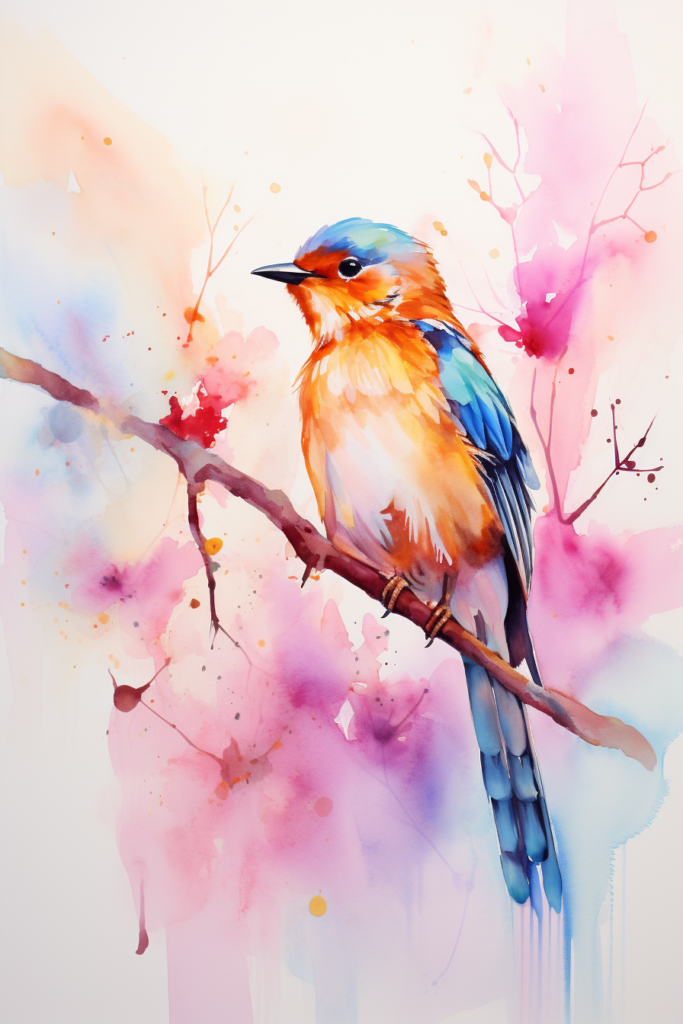
- 70 Watercolor Paintings of Birds for Nature Lovers

- Jumpstart Your Artistic Endeavors with 60 Easy Watercolor Paintings for Beginners
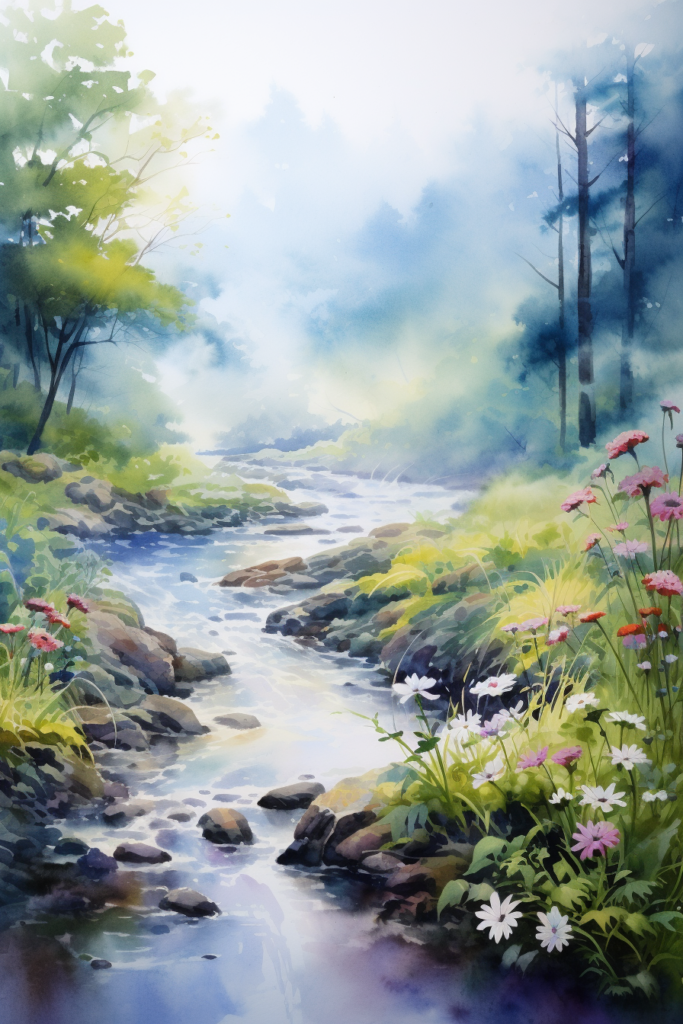
- Watercolor Landscape Paintings Made Easy
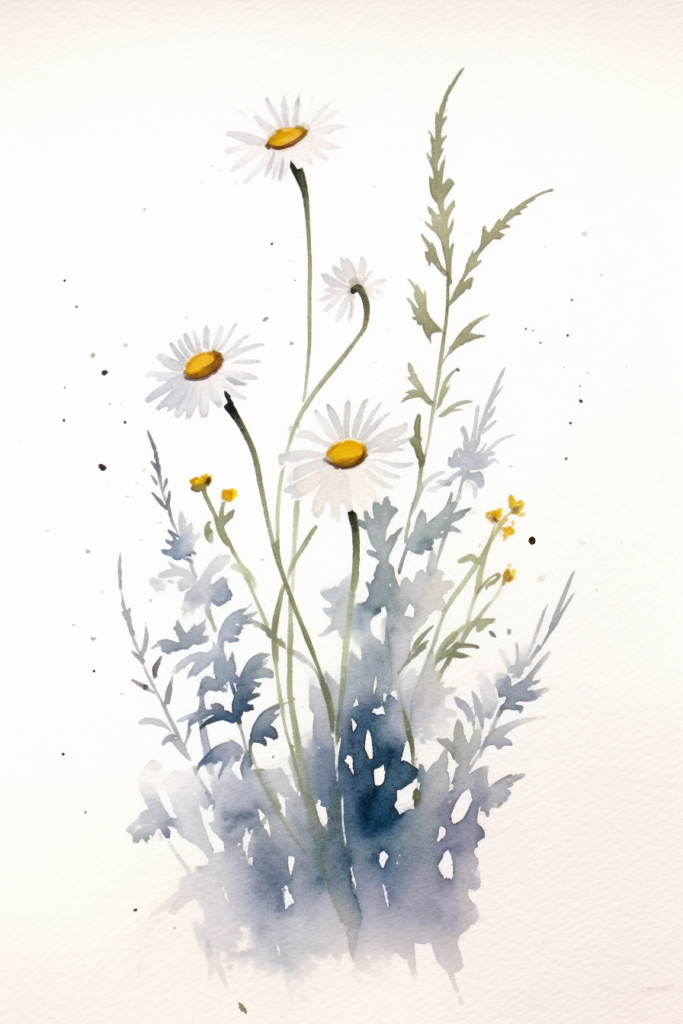
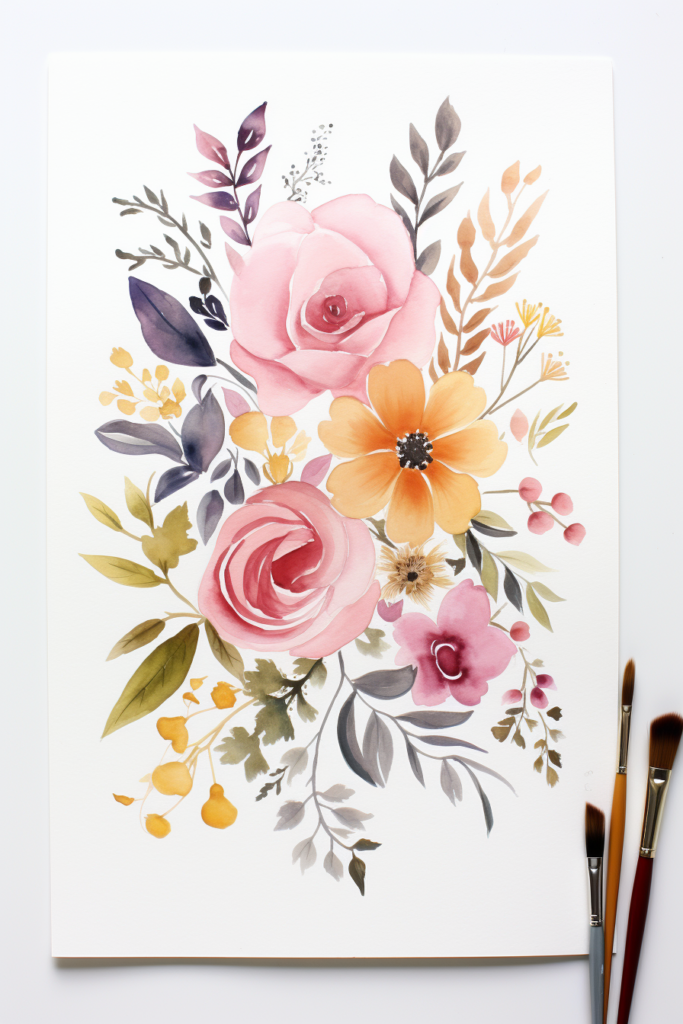
- 30 Flower Watercolor Paintings Made Easy
- Easy Watercolor Paintings to Copy
- 40 Really Easy Watercolor Paintings


Art Styles
- Balancing Artistic Style: Consistency vs. Evolution
- Art Journals: Mapping Progress and Style Evolution
- Style Development: Feedback and Critique Perspectives
- Culture and Heritage: Shaping Artistic Expression
- Refining Artistic Brand: Leveraging Digital Tools
- Psychology of Personal Art Style: A Deep Dive

Welcome to ProactiveCreative.com, your go-to source for inspiration since 2019. Want to create beautiful works? Or learn more about art history? You’re in the right place. We show you how to be creative.
Color Theory
- Color’s Impact on the Brain: Latest Scientific Revelations

- Color Perception Across Cultures: Unraveling Meanings
- Color Theory in Branding: Practical Applications Unveiled
- Color-Feelings Connection: Understanding Relationships
- Color’s Impact on Learning and Concentration: Revealed Effects
- Color Psychology in Interior Design: Leveraging Effects

Art History & Techniques
- Contemporary Art: Exploring Environmental & Sustainable Themes
- Rising Trends: New Frontiers in Digital Art Movements
- Art Valuation Today: Financial Insights in Current Movements
- Globalization of Contemporary Art: Trends Unveiled
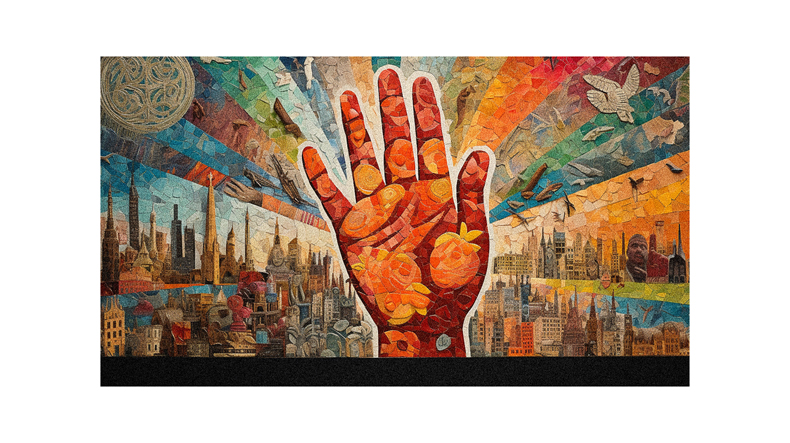
- Art Movements: Exploring Political and Social Narratives
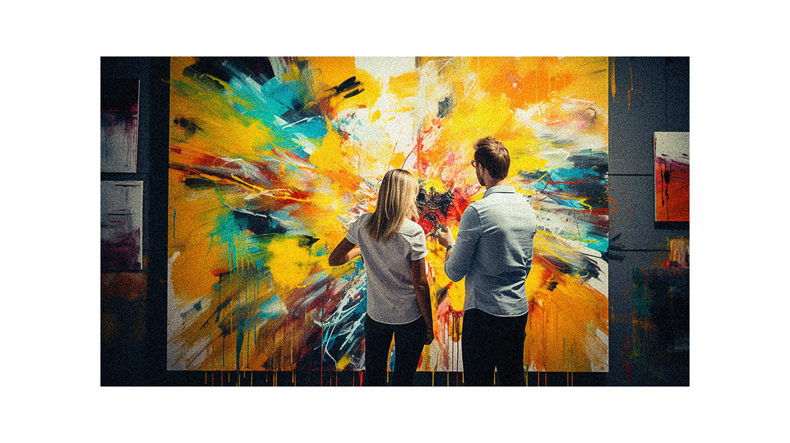
- Comparative Analysis: 20th vs. 21st Century Art Movements

Art & Technology
- Monetizing Digital Art: Latest Platforms and Strategies
- Artistic Ethics in Tech-Integrated Creations: Exploring Boundaries
- Preserving Digital Art: Archiving Strategies and Methods
- Modern Art Education Tech: Updated Curriculum & Tools
- AI’s Impact on Art Production: A Contemporary Perspective
- Digital Artist Toolbox: Essential Tools and Software

Art Resources
- Easy Colored Pencil Art for Novice Artists
- Exploring Colored Pencil Art for Beginners | 44+ Ideas
- Jumpstart Your Artistic Endeavors with 60 Easy Watercolor Paintings for Beginners
- Easy Watercolor Paintings to Copy
- 41+ Expressive Canvas Painting Ideas
- 32 Canvas Painting Ideas Inspired by the Outdoors
Books
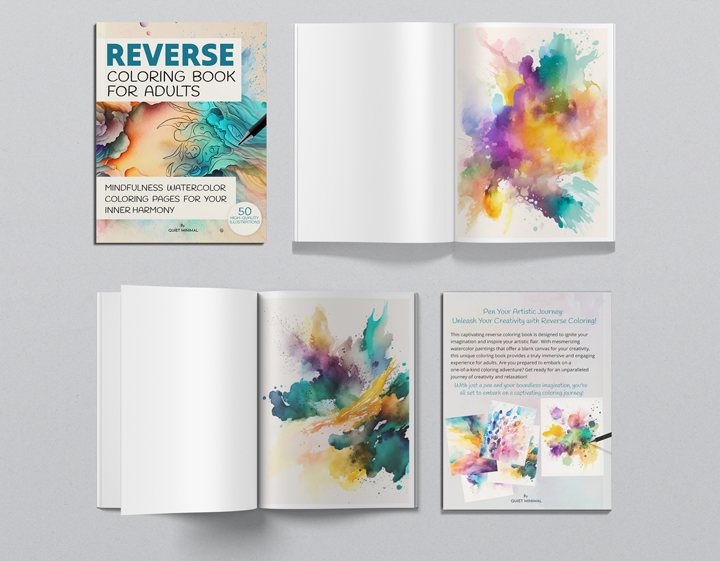
- Reverse Coloring Book For Adults: Watercolor Coloring For Mindful Moments

- Artistic Enrichment: Top 10 Must-Reads for Emerging Artists

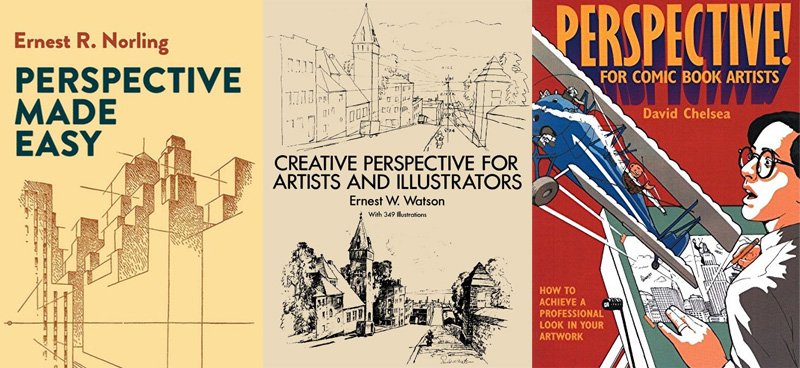
- Perspective Mastery: Must-Read Books Uncovering Artistic Depth

- Color Theory Essentials: Must-Read Books for Artists

- Branding Mastery: Essential Reads for Mastering Branding Art
- Mindful Minimalism: Top Books for Decluttering Mind & Space


Inspiration
- Conquering Doubt: Inspirational Quotes for Overcoming Failure

- Igniting Preparation: Quotes to Fuel Your Preparatory Drive

- Action-Driven Quotes: Inspiring Motivation for Progress

- Boosting Productivity: Inspirational Quotes for Drive

- Defeating Procrastination: Quotes to Drive Action

- Inspiring Illumination: Positive Sayings to Brighten Your Day


Tools
- Productivity Maximizers: Top Ultrawide Monitors Reviewed

- Elevate Your Work: Ultimate Guide to Buying Writing Pads

- Sketch & Swipe: Best 2-in-1 Laptops for Drawing Today

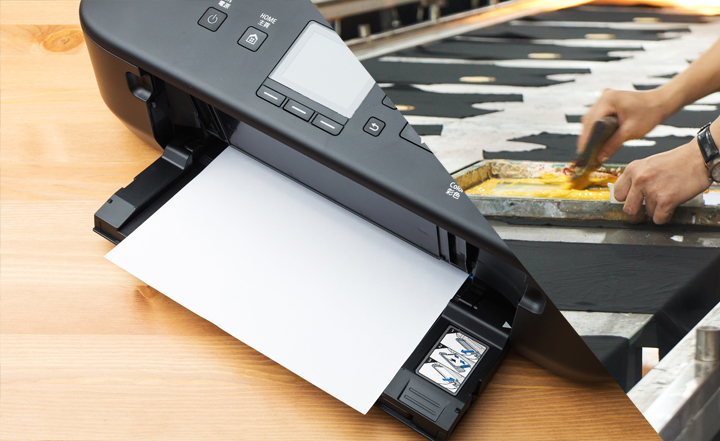
- Precision Printing: Top Printers for Screen Printing

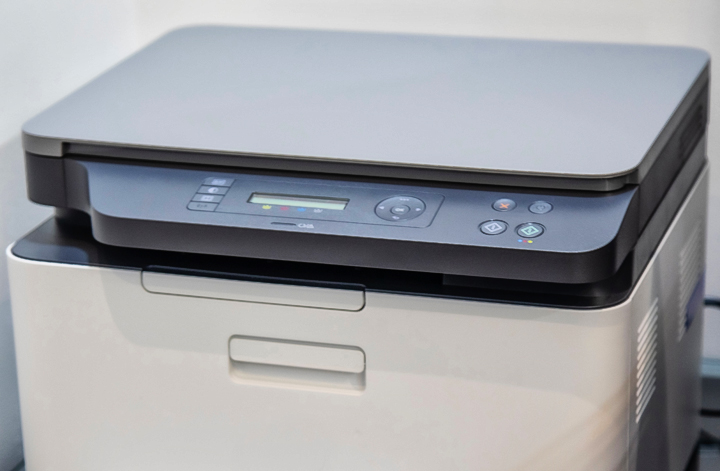
- Crafting Excellence: Top Printers for Quality Projects

- Maximize Impact: Top 11 x 17 Printers Reviewed